How to repaint a motorcycle helmet isn’t just about giving your gear a fresh look; it’s about doing it safely and correctly to maintain both style and protection.
When I decided to paint my own helmet, I thought it would be a quick DIY project, but I quickly learned there’s a lot more to it than just slapping on a new coat of paint.
If you’re thinking of giving your helmet a makeover, there are a few essential steps to ensure you don’t compromise its integrity or safety.
In this guide, I’ll Walk you through each step, from preparation to the final coat, while keeping your helmet’s protective qualities intact. Let’s dive in!
Quick Fix
When repainting a motorcycle helmet, always use helmet-safe paint like acrylic enamel, work in a well-ventilated area, and apply multiple thin coats for an even finish. Avoid painting over any cracks or damage and be sure to mask off vents and padding. Let each layer dry completely before moving on to the next.
Why Repainting Your Helmet Requires Care
When I first considered repainting my helmet, I was eager to customize it to match my bike. However, I learned that the materials in many helmets are designed to absorb impact, and the wrong type of paint or process could weaken that safety feature.
So, repainting a helmet isn’t just about aesthetics—if done improperly, it could actually reduce the helmet’s effectiveness in protecting you.
That’s why it’s important to follow the right steps, use the right materials, and avoid common mistakes that could harm the structural integrity of your helmet.
How to Repaint a Motorcycle Helmet| 8 Easy Steps
Step 1: Gather Your Materials
Before you begin, make sure you have all the right tools and materials. When I did my helmet repaint project, I realized halfway through that I didn’t have proper sandpaper, which set me back. To avoid that mistake, gather everything ahead of time.
Materials You’ll Need:
- Sandpaper (400-600 grit for roughing up the surface, 800-1000 grit for finer sanding)
- Masking tape (to protect vents and areas you don’t want painted)
- Primer (make sure it’s compatible with plastic or fiberglass)
- Spray paint (choose a type suitable for helmets, like acrylic enamel)
- Clear coat (to protect the paint and give it a shiny finish)
- Soft cloths for cleaning and buffing
- Safety gear: gloves, mask, and safety glasses
Step 2: Prepare the Helmet for Painting
I can’t stress enough how important the preparation step is. Rushing through this part could lead to a messy paint job or damage to your helmet.
Remove Any Accessories and Padding
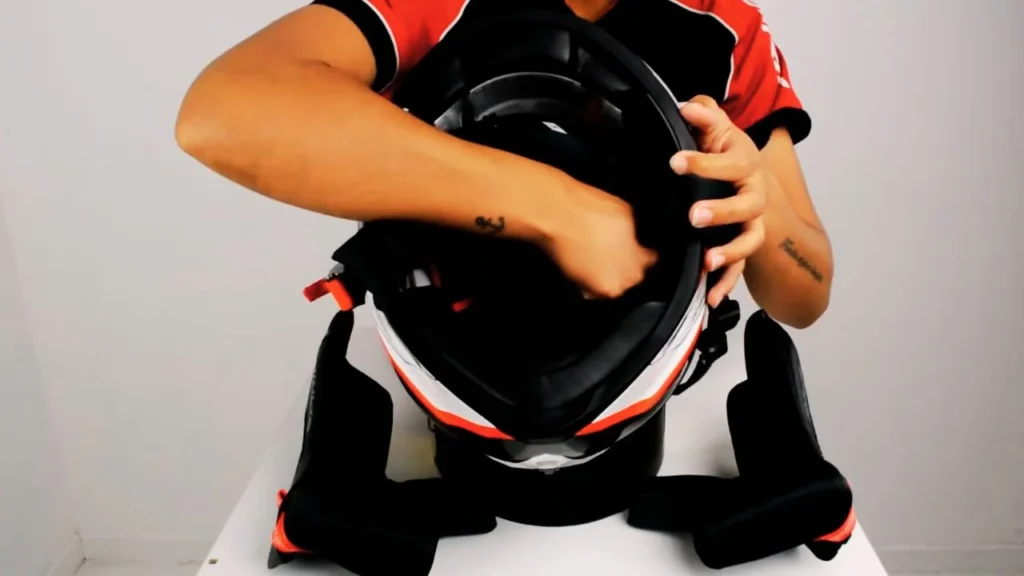
Before anything, remove the visor, internal padding, and any removable vents. These components should not be painted, and it’s a good idea to give them a quick clean while you have them out. Never paint over the visor, as it will ruin your visibility.
Clean the Helmet
Use a mild soap and warm water to thoroughly clean the helmet’s surface. This step removes dirt, oils, and grime that could prevent the paint from sticking properly. Let the helmet air dry or wipe it down with a soft cloth to avoid water spots.
Step 3: Sand the Helmet Surface
This step was a bit nerve-wracking for me at first, but sanding is crucial to ensure the paint adheres properly. You don’t need to go overboard—just a light sanding will do.
- Start with 400-600 grit sandpaper and lightly scuff the surface of the helmet. You want to dull the gloss but not damage the structure.
- Once the entire helmet is scuffed, use 800-1000 grit sandpaper to smooth out any rough areas.
- After sanding, wipe down the helmet with a damp cloth to remove dust and debris.
Sanding makes a big difference in how well the paint sticks and how smooth the final finish looks.
Step 4: Mask Off Areas You Don’t Want Painted
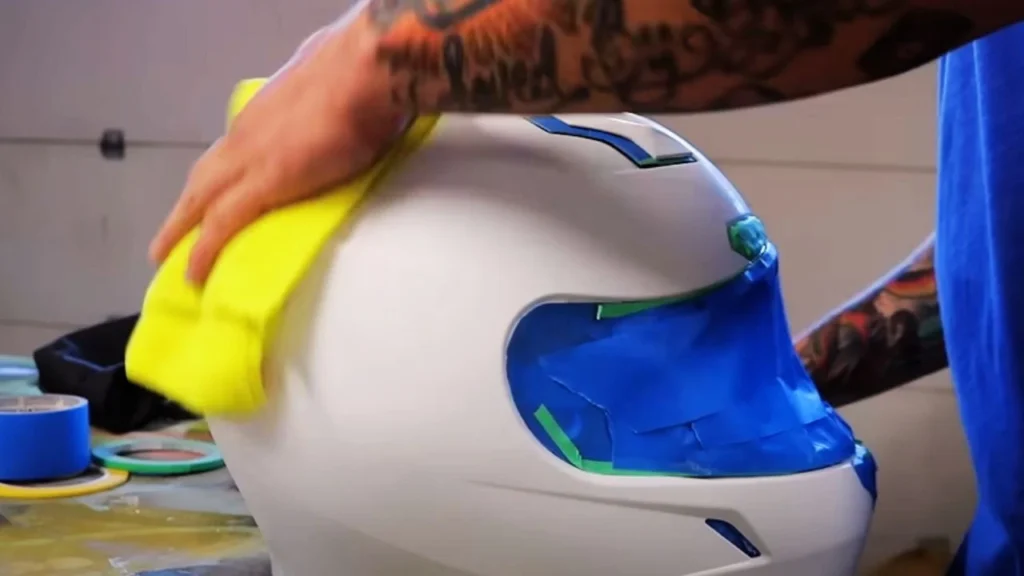
This step is super important, and trust me, it can make or break your paint job. I remember skipping this once, thinking I could just be careful with the spray can, but that was a mistake! You’ll need masking tape to cover any areas you don’t want painted, such as the vents, visor opening, or logos.
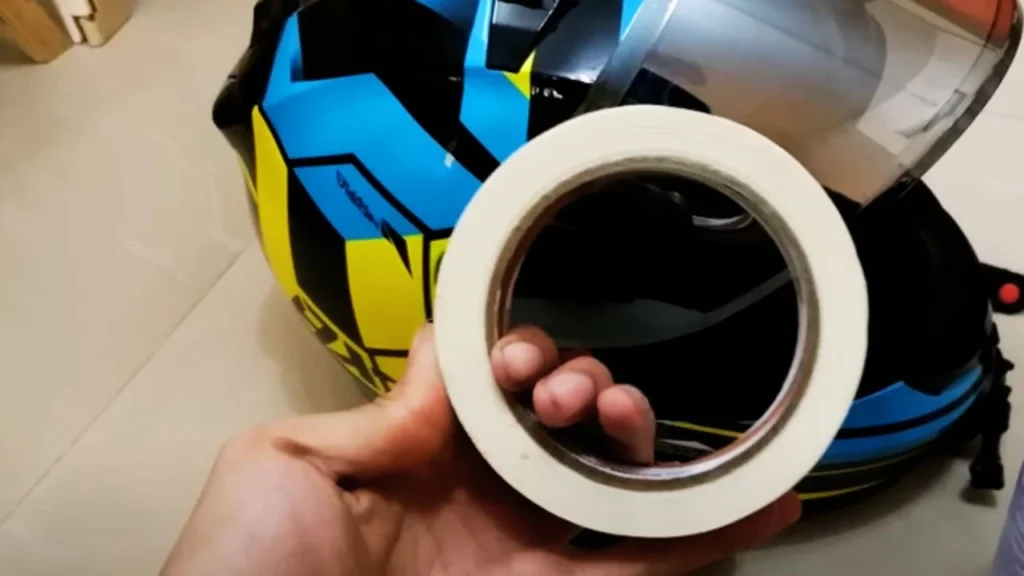
- Use good-quality masking tape and press it down firmly to prevent paint from bleeding under.
- Double-check that everything is properly taped before you move on to priming.
Step 5: Apply the Primer
I learned from experience that primer is not optional—it helps the paint adhere to the helmet and gives it a smooth base. Make sure you’re using a primer designed for plastic or fiberglass helmets.
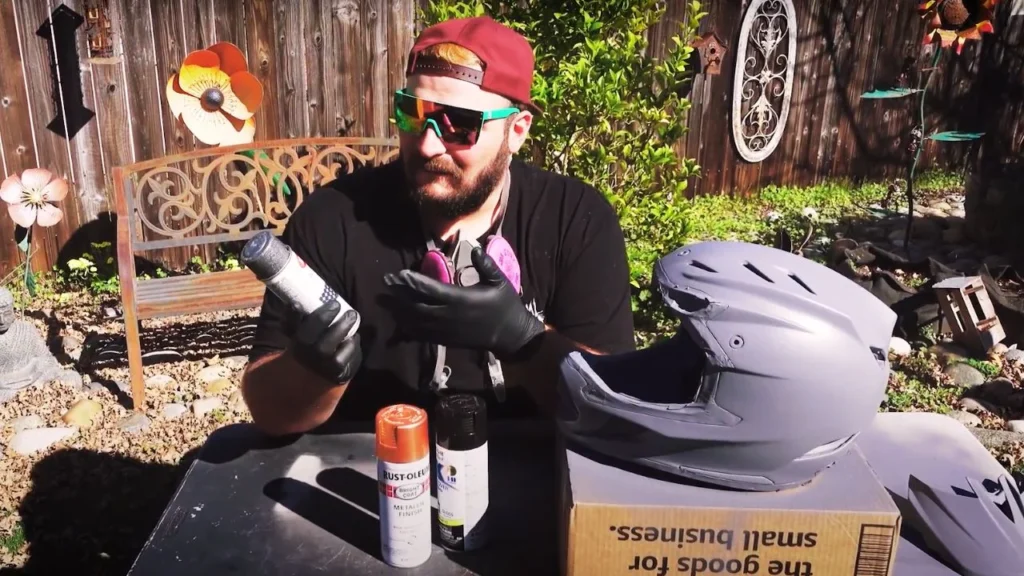
- Shake the primer can well before use.
- Hold the can about 6-8 inches away from the helmet and spray in even, sweeping motions.
- Apply 2-3 light coats of primer, letting each coat dry completely before applying the next one.
Once the primer is fully dry (check the instructions on the can), lightly sand the surface again with 800-1000 grit sandpaper to smooth it out.
Step 6: Painting the Helmet
This is the fun part! But remember, patience is key. I rushed through my first coat once, and it ended up with drips and uneven coverage. Here’s how to avoid that:
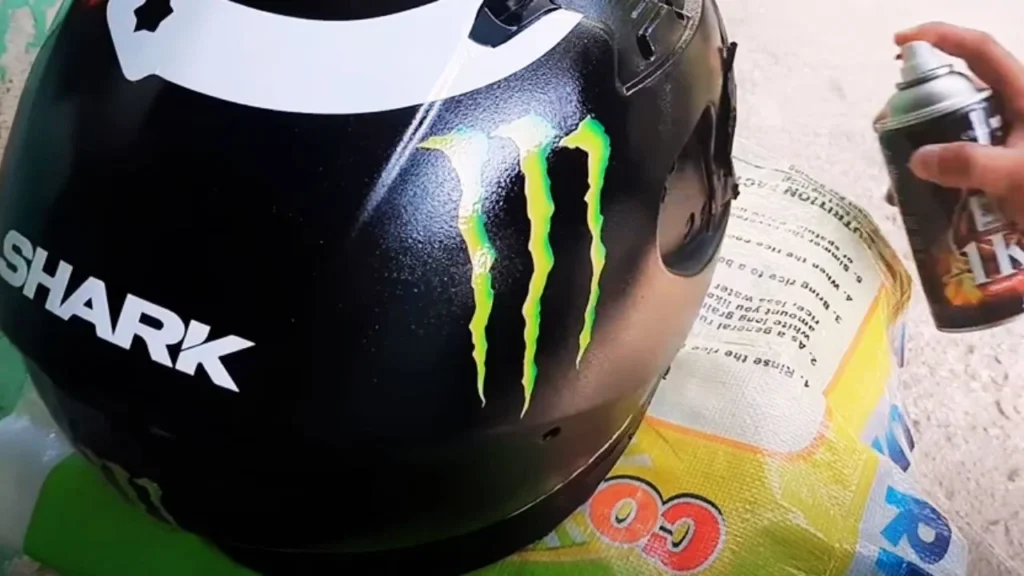
- Start with light, even coats. Hold the can about 6-10 inches from the surface and use smooth, sweeping motions.
- Apply 2-4 thin coats of paint, allowing each coat to dry completely before applying the next. This prevents runs and ensures an even finish.
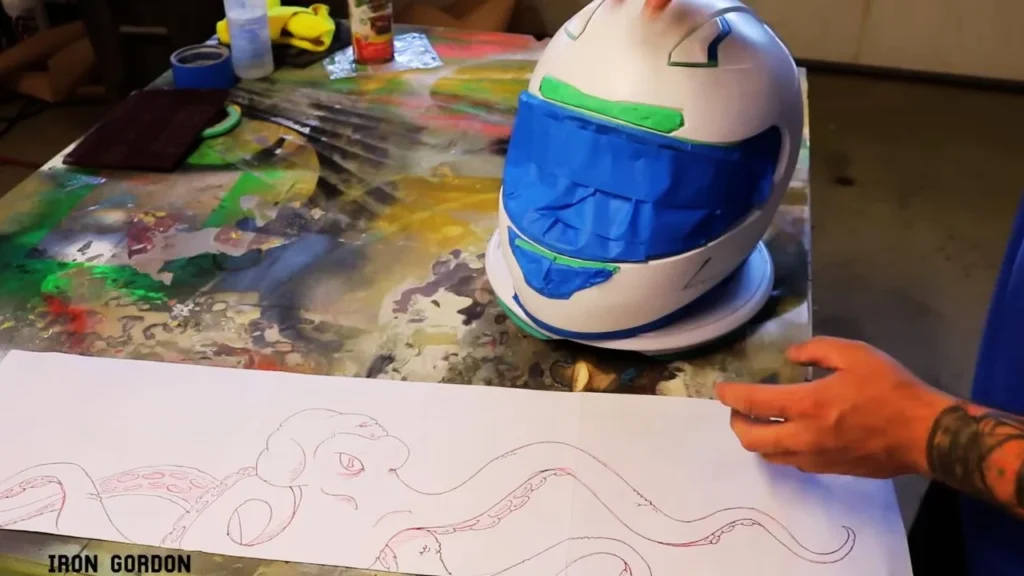
- If you’re adding multiple colors or designs, use masking tape to create clean lines and patterns.
Make sure you’re working in a well-ventilated area and wearing your safety gear to avoid inhaling fumes.
Step 7: Clear Coat for Protection
Once the paint is fully dry (I usually wait at least 24 hours), it’s time to apply the clear coat. This step adds durability and gives the helmet a glossy, professional-looking finish.
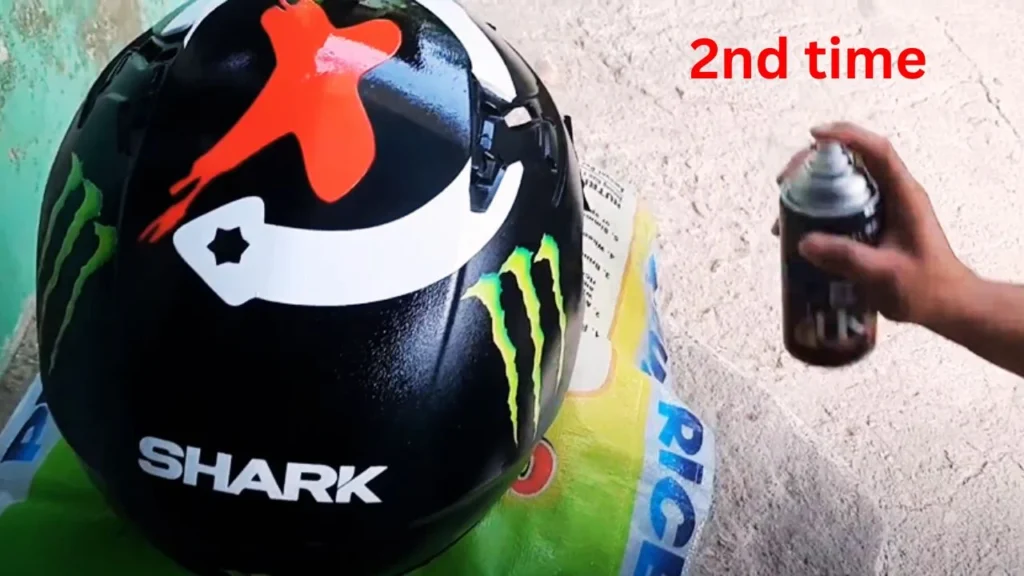
- Apply 2-3 coats of clear coat in the same manner as the paint, with smooth, even strokes.
- Let the clear coat dry completely before handling the helmet. Again, I recommend waiting at least 24 hours to ensure it cures properly.
Step 8: Reassemble and Buff the Helmet
After the clear coat has fully dried, it’s time to put your helmet back together.
- Carefully remove all the masking tape.
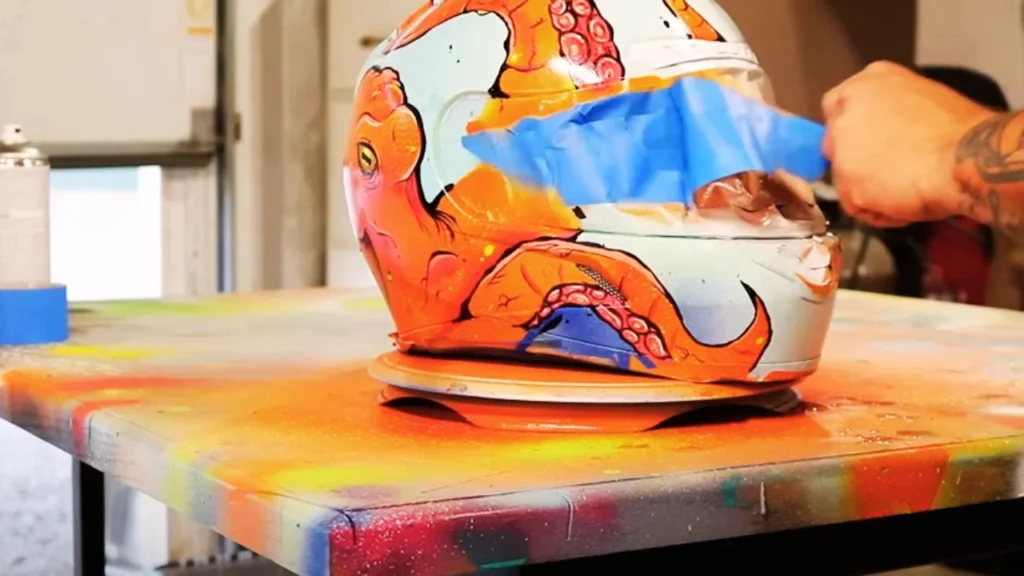
- Reattach the visor, vents, and internal padding.
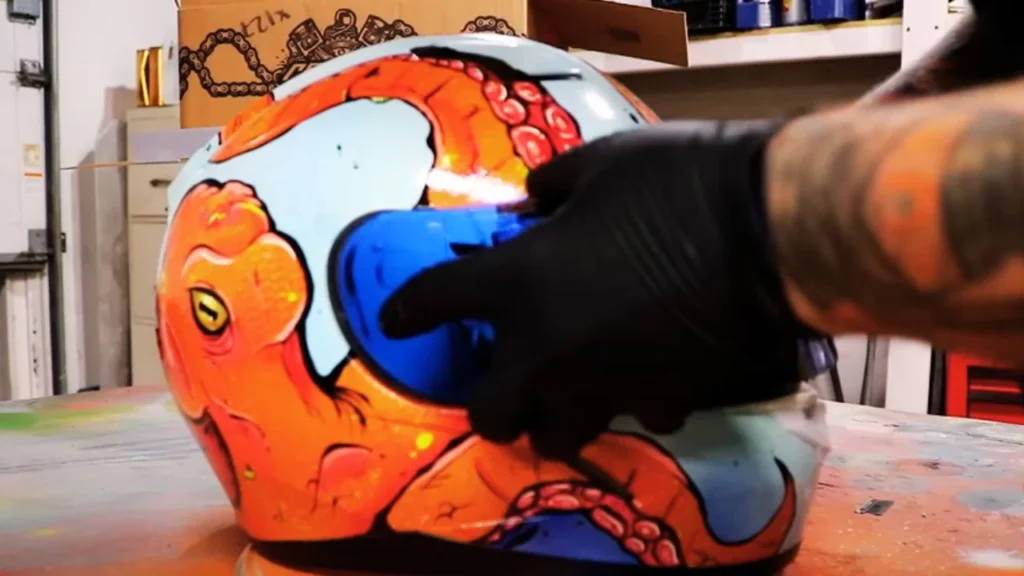
- Use a soft cloth to buff the helmet and bring out that final shine.
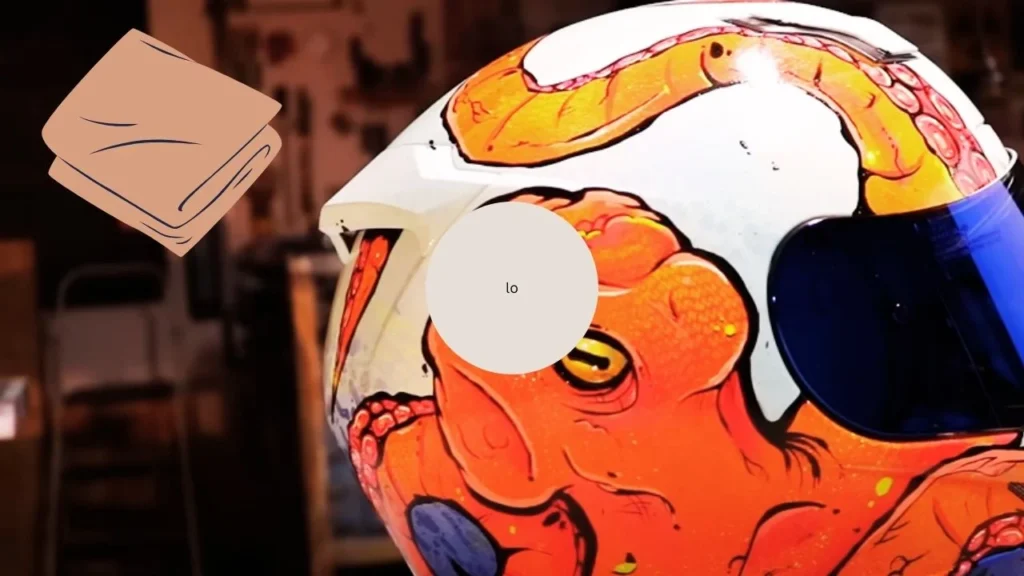
If you’ve followed the steps carefully, your helmet should look like it just came off the shelf, with a custom twist!
Things to Avoid When Repainting a Motorcycle Helmet
Here are a few mistakes I’ve learned to avoid along the way:
- Don’t use harsh chemicals to clean the helmet before painting. Stick to mild soap and water.
- Never use non-helmet-safe paint. Some paints contain solvents that can weaken the helmet’s shell.
- Avoid rushing the drying process. Allow proper time for each layer to dry fully before moving on to the next.
Maintaining Your Helmet’s New Paint Job
After all that hard work, you’ll want to keep your newly painted helmet looking great. Here’s what I do:
- Clean the helmet gently with a microfiber cloth to avoid scratching the new paint.
- If you need to know how to clean inside of motorcycle helmet, make sure to remove and hand-wash the padding without damaging the paint.
- Be mindful of storage—don’t leave your helmet in extreme heat or direct sunlight for long periods, as it can cause the paint to fade.
Safety Guidelines for Repainting a Motorcycle Helmet
- Use Helmet-Safe Paint: Always use paint specifically designed for helmets, such as acrylic enamel or water-based paints. Avoid paints with solvents like lacquer or enamel-based paints, as they can weaken the helmet’s outer shell and compromise safety.
- Avoid Painting Over Cracks or Damage: If your helmet shows any signs of damage, such as cracks or dents, repainting it won’t restore its protective capabilities. If your helmet has sustained damage, it’s better to replace it entirely.
- Work in a Well-Ventilated Area: When spraying primer, paint, or clear coat, always work in a well-ventilated space or outdoors. Paint fumes can be harmful if inhaled for extended periods. Wearing a mask and goggles can also protect you from fumes and paint particles.
- Protect Vents and Padding: Mask off areas like air vents, visors, and padding before painting to prevent clogging and ensure that all functional parts of the helmet remain unaffected.
- Allow Proper Drying Time: Each coat of paint and clear coat should fully dry before applying the next layer. Rushing the process can cause smudging or bubbling, and affect the helmet’s finish. Follow the drying times recommended by the paint manufacturer.
- Test for Compatibility: Before painting the entire helmet, it’s a good idea to test a small area to ensure the paint adheres well and doesn’t cause any reactions with the helmet material.
By following these safety guidelines, you can customize your helmet without sacrificing its protective qualities. Learn more tips with me like how is a motorcycle helmet supposed to fit in a quick time.
Conclusion
Repainting a motorcycle helmet is a rewarding project if done correctly. Knowing how to repaint a motorcycle helmet means taking your time to prepare, paint, and protect your helmet while ensuring you maintain its safety features.
From sanding to spraying, each step is crucial for a smooth, professional-looking finish. Remember, use helmet-safe materials and avoid shortcuts to get the best result.
Taking the time to repaint your helmet the right way not only gives it a personal touch but also ensures it keeps protecting you as it should. Have fun with it, and ride safe!
FAQ’s
- Why should I use a primer before painting my motorcycle helmet?
Primer helps the paint adhere better to the surface and provides a smooth base for even coverage.
- How many coats of paint should I apply?
You should apply 2-4 thin coats of paint, allowing each coat to dry completely before applying the next.
- Can I use any type of paint to repaint my helmet?
No, you must use paint specifically designed for helmets or plastic/fiberglass surfaces, such as acrylic enamel, to avoid damaging the helmet’s shell.


