Knowing how to measure for a motorcycle helmet correctly can make all the difference in your safety and comfort on the road. Finding the right motorcycle helmet isn’t just about style—it’s about safety and comfort.
In fact, wearing a helmet that fits well can reduce the risk of severe head injuries by up to 69%, according to the CDC. But many riders struggle with choosing the right size.
Too loose, and the helmet can shift or even come off in a crash. Too tight, and it becomes uncomfortable, causing headaches and distraction.
In this guide, we’ll go step-by-step through the process of measuring your head, choosing the right helmet style, and ensuring a snug, safe fit. Whether you’re new to riding or an experienced motorcyclist, following these tips will help you find the perfect helmet for your next ride.
Quick Fix
To measure for a motorcycle helmet, wrap a soft measuring tape around the largest part of your head, typically just above your eyebrows and ears. Make sure the tape is level all around, snug but not too tight. Use the measurement in centimeters to find your helmet size according to the brand’s size chart. Always test the helmet fit by wearing it for at least 15 minutes to check for comfort, peripheral vision, and security.
Why Is Proper Helmet Fit Important?
Wearing a helmet that doesn’t fit properly is like wearing no helmet at all. A well-fitting helmet not only provides the best protection but also enhances comfort on long rides. Here’s why it matters:
- Safety: In the event of an accident, a properly fitted helmet stays in place and absorbs impact more effectively. Helmets that are too loose can shift or even fly off, while helmets that are too tight can cause pressure points and reduce their protective ability.
- Comfort: A snug fit ensures that the helmet doesn’t press too tightly on your head, making it easier to focus on the road rather than discomfort.
- Performance: Proper helmet fit helps reduce wind noise and allows for better aerodynamics. It also ensures better vision and peripheral awareness since the helmet stays aligned with your head.
Now, let’s dive into the steps for how to measure for a motorcycle helmet.
Step-by-Step: How to Measure for a Motorcycle Helmet
Step 1: Gather the Tools You’ll Need
Before you begin measuring, make sure you have the following items ready:
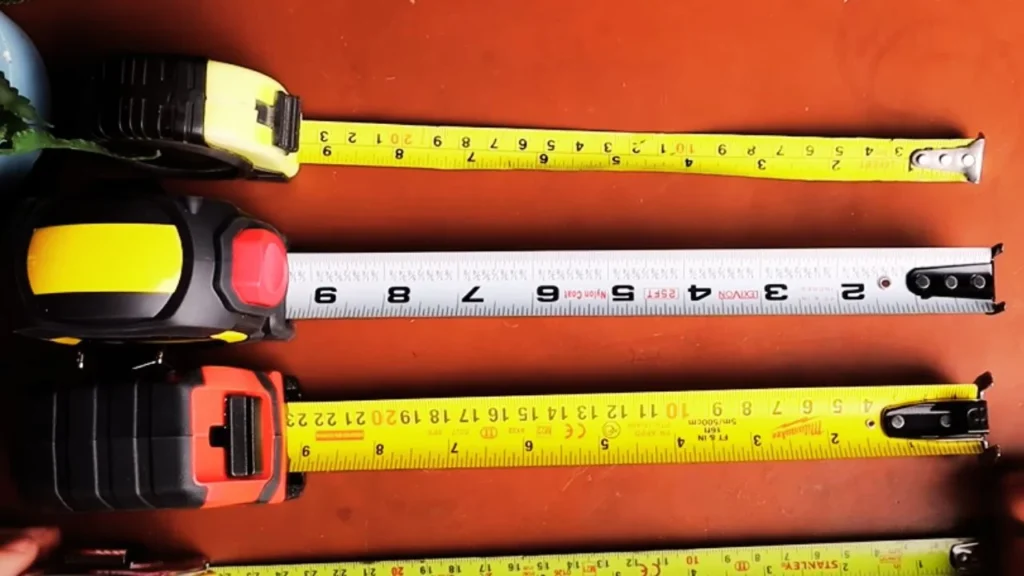
- A soft measuring tape: You can find these in sewing kits or buy them online. A tailor’s tape works best as it wraps easily around your head.
- A mirror: This helps ensure the tape stays level as you measure around your head.
- A friend (optional): Having someone help you measure can improve accuracy.
- Helmet size chart: Most helmet brands have their own size charts, so be sure to consult the chart for the specific brand you’re considering.
Step 2: Measure Your Head Circumference
The most important measurement when determining helmet size is your head circumference. Here’s how to do it:
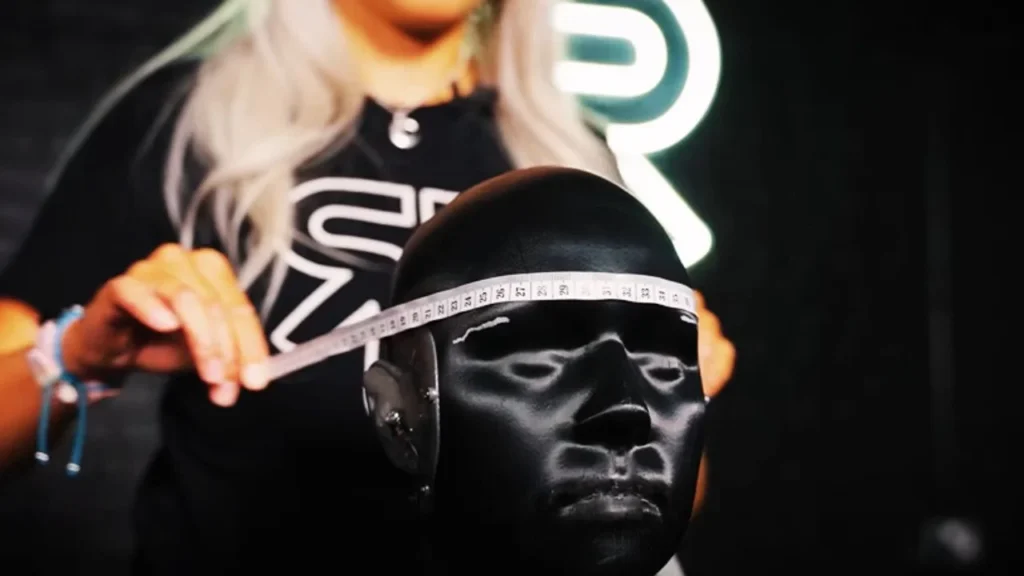
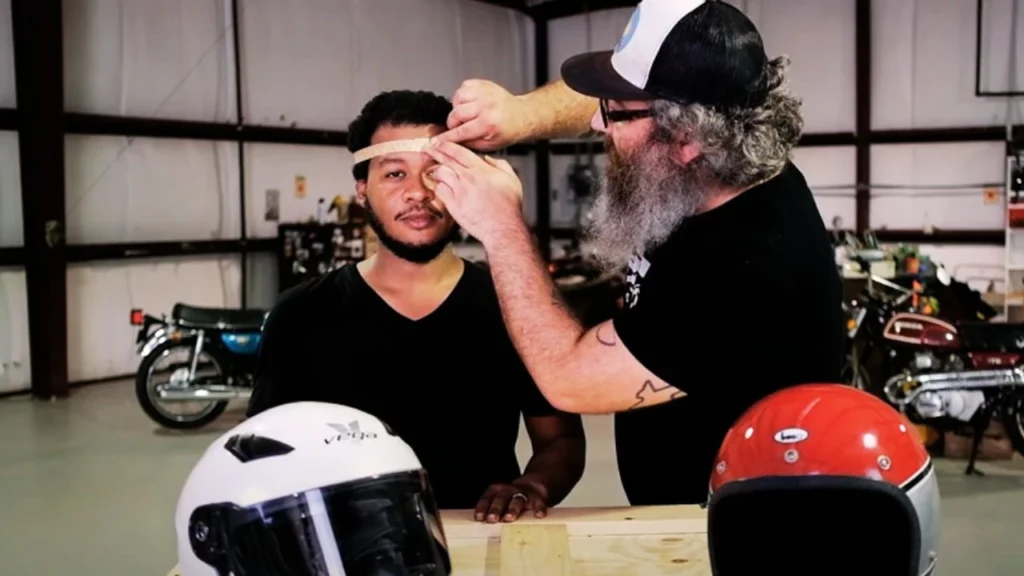
- Position the Tape: Place the tape measure around the largest part of your head. This is typically just above your eyebrows and ears, and across the back of your skull.
- Ensure It’s Level: Make sure the tape is level all the way around your head. It shouldn’t dip lower at the back or be higher on one side.
- Check the Fit: The tape should sit snugly but not too tight. You don’t want to compress the soft tissues around your head while measuring, as this can lead to a helmet that’s too small.
- Record Your Measurement: Write down your head circumference in centimeters. If you’re using inches, most helmet size charts also offer conversions to centimeters.
Pro Tip: Measure a few times to ensure consistency. It’s common to get slightly different numbers, so measure two or three times and use the average to find your correct size.
Step 3: Determine Your Helmet Shape
Helmets come in three main shapes, and choosing the correct one is crucial for a proper fit. Understanding your head shape is key when learning how to measure for a motorcycle helmet.
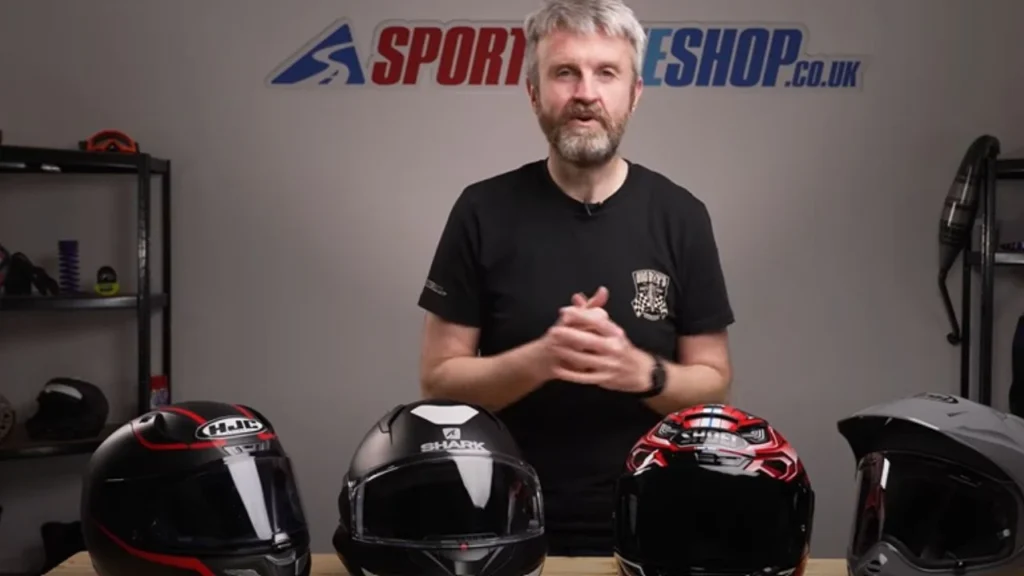
- Round Oval: This is when the head has nearly equal width and length. If you have a round head, helmets designed for this shape will fit snugly around both the sides and front of your head.
- Intermediate Oval: This is the most common head shape among riders, where the head is slightly longer from front to back than it is wide. Most helmets on the market cater to intermediate oval shapes.
- Long Oval: This head shape is significantly longer from front to back compared to side-to-side. If you have a long oval head, look for helmets that offer extra room in the front and back to avoid discomfort.
Step 4: Try On the Helmet
Once you’ve determined your head circumference and shape, it’s time to try on some helmets. Here’s how to ensure the perfect fit:

- Slide it On: When putting the helmet on, grab the straps and gently pull them apart. Slide the helmet onto your head and make sure it sits evenly and doesn’t tilt to one side.
- Check the Fit Around the Crown: The helmet should fit snugly around the crown of your head, which is the largest part of your skull. It should feel secure but not overly tight.
- Test for Gaps: Run your fingers around the edges of the helmet, especially near the temples and the back. There should be minimal space between the helmet and your head.
- Move Your Head: Once the helmet is on, shake your head side to side and up and down. The helmet should move with your head and not slide around.
- Strap It Up: Fasten the chin strap snugly, so only one or two fingers can fit between the strap and your chin. If the strap feels too loose, it won’t hold the helmet in place during a crash.
Helmet Fit Test: Does It Pass?
Once the helmet is on, do a few checks to ensure it’s the right fit:
- The Comfort Check: Wear the helmet for at least 15 minutes. This will help you notice if there are any pressure points that might cause discomfort during longer rides.
- The Vision Check: Ensure that your peripheral vision is clear. A properly fitting helmet should not block your side view.
- The Push-Pull Test: With the chin strap fastened, grab the helmet and try moving it around your head. If it shifts or feels loose, you may need a smaller size.
- The Roll-Off Test: Gently attempt to roll the helmet off your head by pulling it upward from the back while keeping the chin strap fastened. A properly fitted helmet shouldn’t budge.
Understanding Helmet Sizes
Now that you’ve measured your head and determined your head shape, it’s time to match your measurement with a helmet size chart. Helmet sizes vary between brands, but here’s a general guide for for a motorcycle helmet:
- Small: 55-56 cm
- Medium: 57-58 cm
- Large: 59-60 cm
- X-Large: 61-62 cm
- XX-Large: 63-64 cm
Each brand’s sizes might differ slightly, so always refer to the size chart provided by the manufacturer of the helmet you’re considering.
Different Helmet Types and Their Fit
When shopping for a helmet, it’s also important to consider the type of helmet you’re buying. Each helmet type may fit differently:
Full-Face Helmets:
- Offer the most protection, covering your entire face and chin.
- Tend to fit snugly all around your head. Check for adequate space around your cheeks and jaw.
Modular Helmets:
- These flip-up helmets allow you to raise the front section, offering versatility.
- The fit is similar to full-face helmets but may require a little more space for the flip mechanism.
Open-Face Helmets:
- Cover only the top and sides of your head, leaving your face exposed.
- Open-face helmets tend to have more freedom in fit, but they should still be snug around the crown.
Off-Road Helmets:
- Designed for dirt biking and off-road adventures, these helmets have more ventilation and a larger eye port for goggles.
- The fit should be tight around the crown and cheeks, but leave room for goggles to fit comfortably.
Common Helmet Fit Mistakes to Avoid
When figuring out how to measure for a motorcycle helmet, it’s easy to make some common mistakes. Here are a few things to watch out for:
- Too Loose: If the helmet can easily slide back and forth or feels like it’s wobbling, it’s too loose. A loose helmet won’t protect you properly in an accident.
- Too Tight: If the helmet feels like it’s squeezing your head or causes immediate discomfort, it’s too tight. You should never feel pain when wearing a helmet.
- Ignoring Helmet Shape: Buying the wrong helmet shape for your head can lead to uncomfortable pressure points. Always match your head shape with the helmet’s design.
When to Replace Your Helmet
Even if your helmet fits perfectly, it won’t last forever. Helmets should be replaced every 5 years or after a significant crash. The inner lining and protective foam can degrade over time, reducing the helmet’s ability to protect you in an accident.
Also, if you notice cracks in the shell, damage to the interior padding, or a loose fit after years of wear, it’s time to get a new helmet.
Conclusion
Now that you know how to measure for a motorcycle helmet, you can confidently choose the right fit for your head. A properly fitted helmet will not only keep you safe but also make your rides more comfortable and enjoyable.
Remember, it’s all about taking the time to measure your head correctly, understanding your helmet’s shape, and trying on a few different models before making your final decision.
Wearing a well-fitted helmet is one of the most important steps you can take to protect yourself on the road. Follow these steps, and you’ll be set for a safe, comfortable ride every time.


