Are you looking for how to customize my motorcycle helmet? I remember the first time I looked at my plain, factory-painted helmet and thought, “This could use some personality!” Customizing a helmet brings out the uniqueness of each rider, allowing you to stand out and add a personal touch to your gear.
Over the years, I’ve tried everything from painting to applying decals, and each method has its tricks and best practices. Here’s my ultimate guide for anyone wanting to transform their motorcycle helmet into a true reflection of their personality, all while keeping safety and durability in mind.
Quick Fix
How to customize my motorcycle helmet? Customizing your motorcycle helmet lets you express personal style while enhancing functionality. Options include paint, decals, visor tints, and add-ons like Bluetooth or camera mounts. With the right materials, your helmet can be both unique and safe.
Why Customize Your Motorcycle Helmet?
Customizing a helmet is a fantastic way to add flair and functional features. Not only does it let you stand out, but it also makes riding more comfortable. Here are some of the main reasons riders like me choose to customize:
- Enhanced Visibility: Reflective decals or brighter colors help make you more visible to others on the road, especially at night.
- Weather and Sun Protection: Tinted visors, UV-resistant paints, or cooling liners can make a huge difference on long rides in sunny or harsh conditions.
- Self-Expression: The motorcycle helmet is an extension of your personality. With a custom design, you can make it uniquely yours.
- Added Comfort: Custom-fit padding and noise-reduction inserts can transform your riding experience, especially on longer journeys.
Preparation: Setting Up for a Successful Customization
Preparation is key to making sure your customization lasts and looks professional. The first step is to check the helmet’s material—most helmets are made from polycarbonate, fiberglass, or carbon fiber, and each one has specific compatibility requirements for paints and adhesives. Some paints can weaken certain materials, so always verify this with the manufacturer.
Once you’ve checked the material, clean the helmet thoroughly. I use a gentle soap solution with a soft cloth, avoiding harsh chemicals that can damage the surface. After cleaning, I remove all removable parts, like the visor and inner padding, so they don’t get painted or stained. This step may feel tedious, but trust me, it’s worth it for a smooth, polished final result.
How to Customize My Motorcycle Helmet: Step-by-Step Guide to Each Method
With the basics covered, let’s dive into the various customization techniques. Each of these options offers a unique way to make your helmet stand out.
Painting: Create a Unique Look
Painting your helmet is a rewarding process that lets you create a custom look. I always start by lightly sanding the helmet’s surface with fine-grit sandpaper. This prepares the surface for the paint to adhere better and prevents peeling. I recommend UV-resistant paint, which holds up well against sun exposure and reduces fading over time.
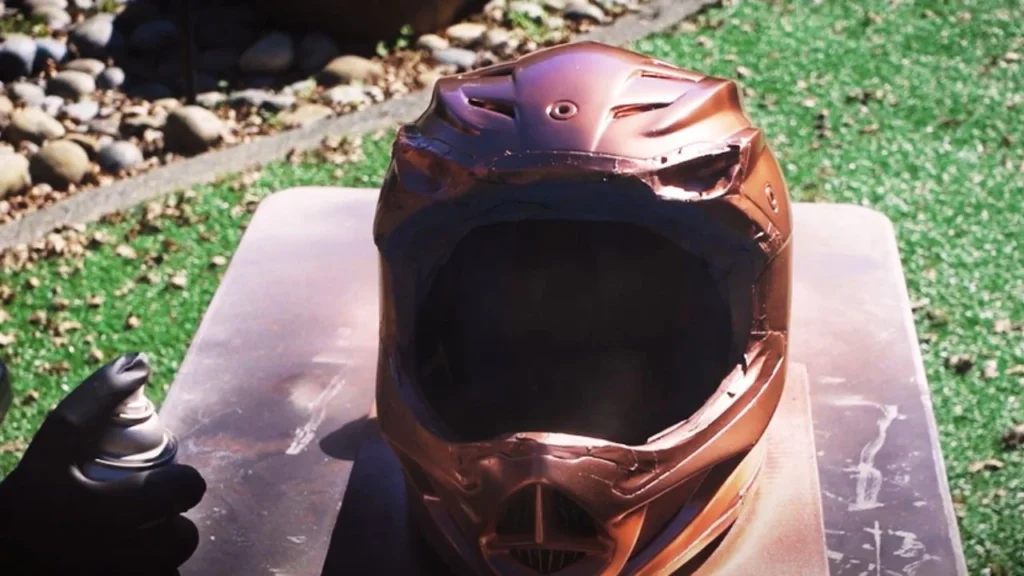
After applying a few thin base coats, I often add stencils or masking tape to create designs. Layering colors with stencils lets you experiment with patterns. Once finished, I apply a clear top coat for added protection and a shiny finish. Painting can be affordable if done yourself—costing around $20-$50 for supplies—while professional jobs can range from $300 to $500.
Decals and Skins: Quick and Affordable Personalization
Decals and skins are easy and can be swapped out anytime you want a fresh look. Decals add style and functionality, with reflective options that improve nighttime visibility. Before applying decals, I clean the surface thoroughly and align the decals carefully to avoid bubbles. A soft cloth helps press them down for a smooth finish.
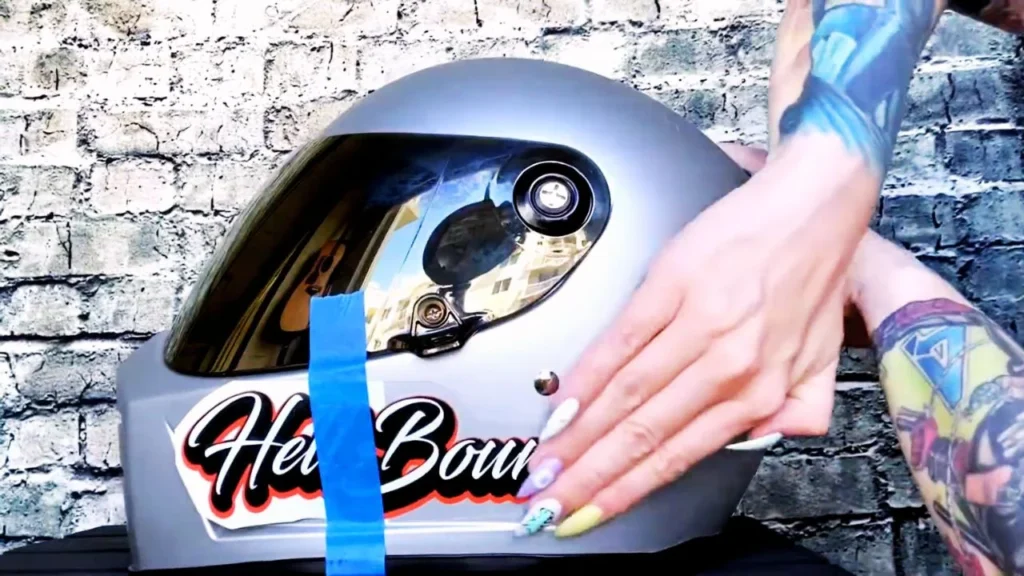
Skins, on the other hand, cover a larger area and can create a full wrap design on the helmet. They’re also protective, preventing scratches and fading, and can be found for $40 to $60.
Stencil Designs: Perfect for Intricate Patterns
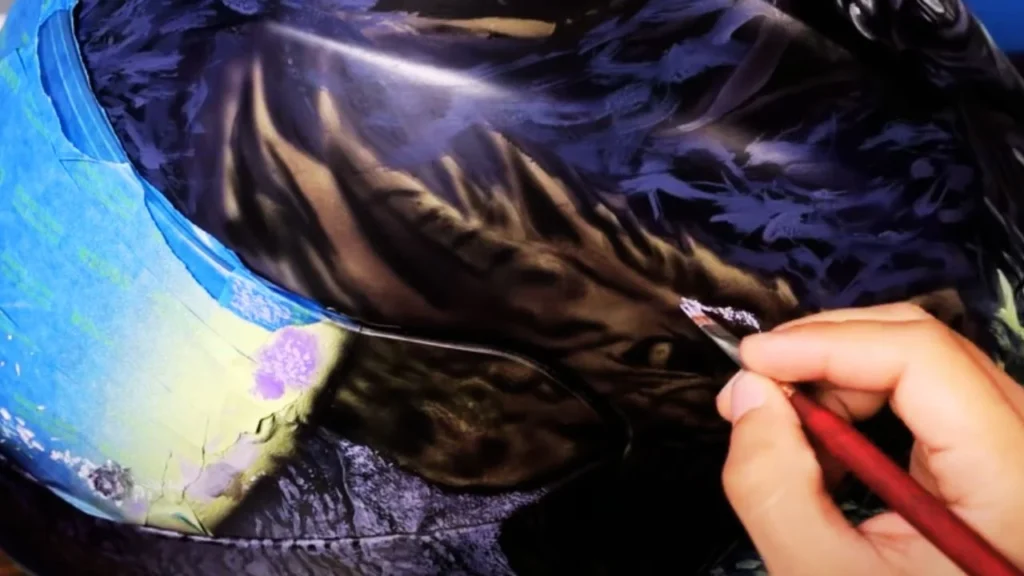
Stencils allow you to achieve complex designs without needing advanced painting skills. I recommend securing the stencil with painter’s tape to avoid any shifting. Spray paint works well, but for detailed designs, I use a small brush to fill in the stencil. Applying different colors in layers can create dynamic effects, and removing the stencil before the paint fully dries gives crisp, clear lines.
Pinstriping: Classic and Elegant Accents
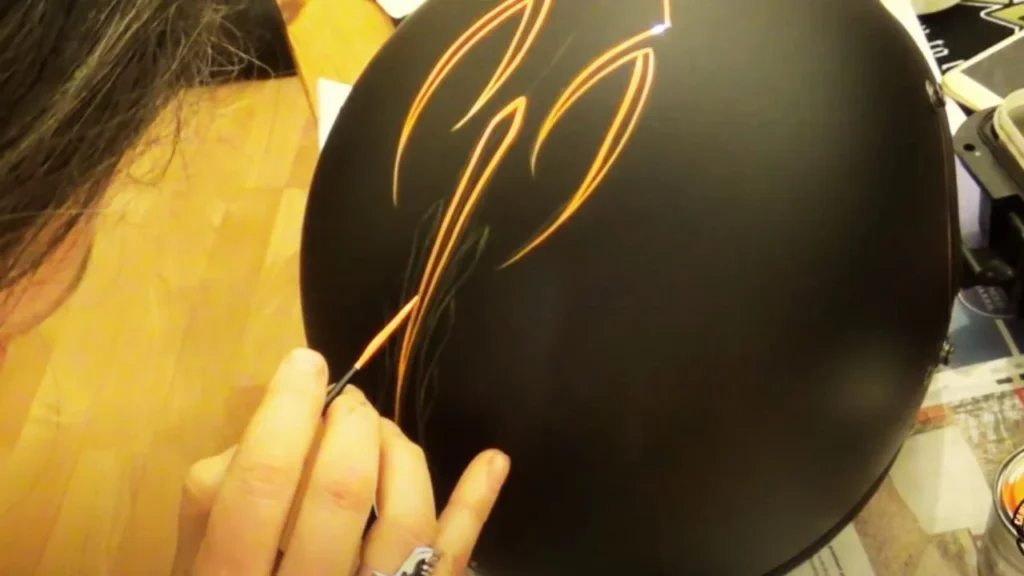
Pinstriping adds an old-school charm and requires a steady hand. I often use pinstriping tape first to outline the design, which prevents mistakes. For freehand pinstriping, a specialized brush and quick-dry paint are essential. I’ve found that using clear coats over pinstriping keeps the lines sharp and prevents wear.
Airbrushing: Advanced and Artistic
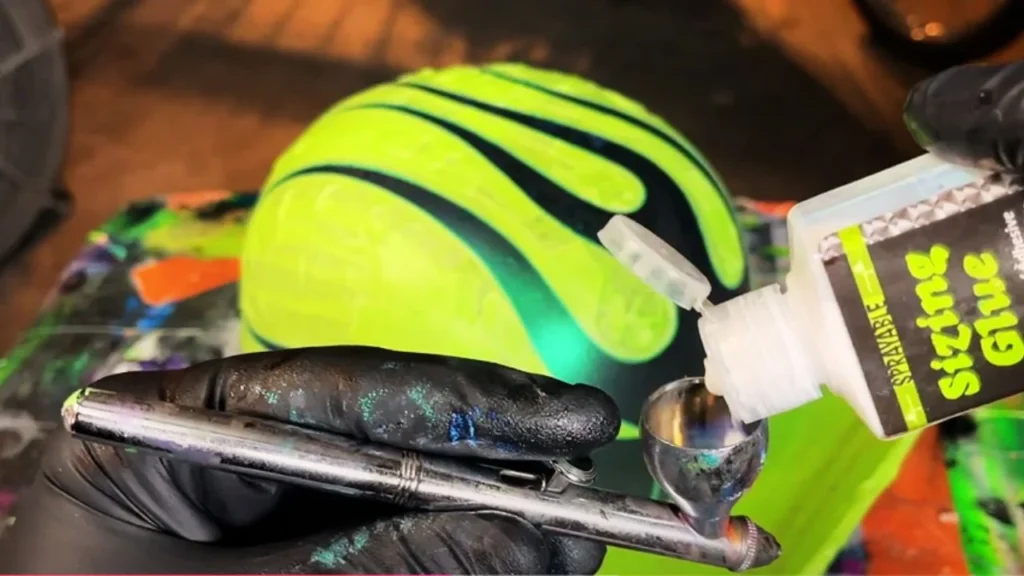
Airbrushing is for those looking to create intricate designs or gradient effects. While airbrushing can be done at home with the right equipment, many riders prefer professional airbrushing for detailed work. A basic airbrush kit costs about $70-$200. For me, airbrushing is a fun way to experiment with effects like flames or shadows, making the helmet look truly custom.
Using a Vinyl Wrap: Professional Look without Paint
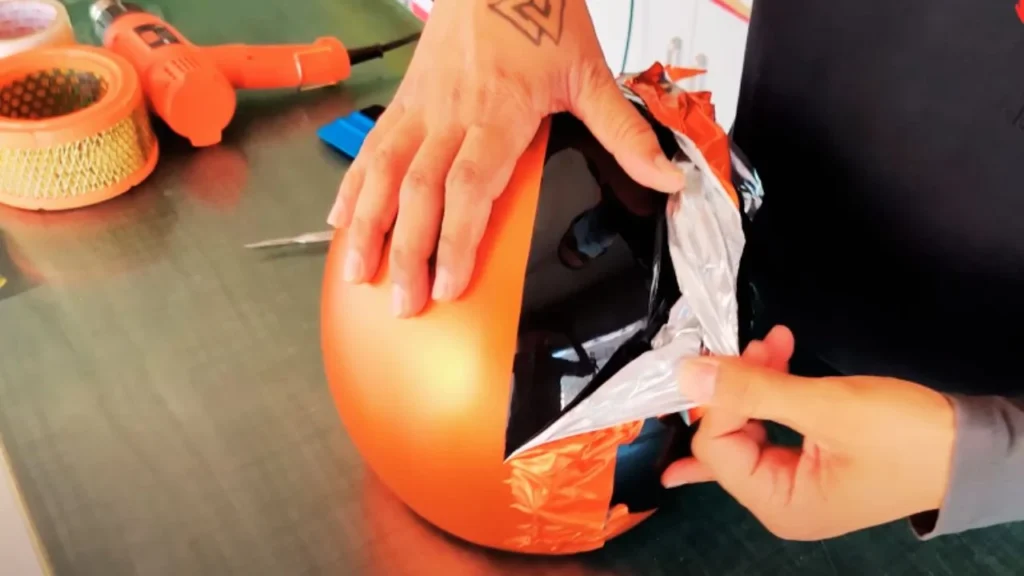
Vinyl wraps are gaining popularity as an easy, mess-free alternative to painting. I love wraps because they can be applied and removed without permanent alteration. Plus, they’re durable and offer a professional finish. Wraps come in various colors and finishes, including matte, gloss, and metallic.
Applying a vinyl wrap requires patience. I start by aligning the wrap carefully and use a heat gun to stretch it over the curves of the helmet. For a high-quality wrap job, consider visiting a professional.
Enhancing Comfort and Fit with Interior Customization
A helmet’s comfort level affects the entire riding experience, especially on longer journeys. Many helmet brands offer removable padding kits, which can be swapped out for more comfortable or hypoallergenic options. I’ve found that adding noise-canceling inserts helps reduce wind noise on open roads, making rides much quieter and more enjoyable.
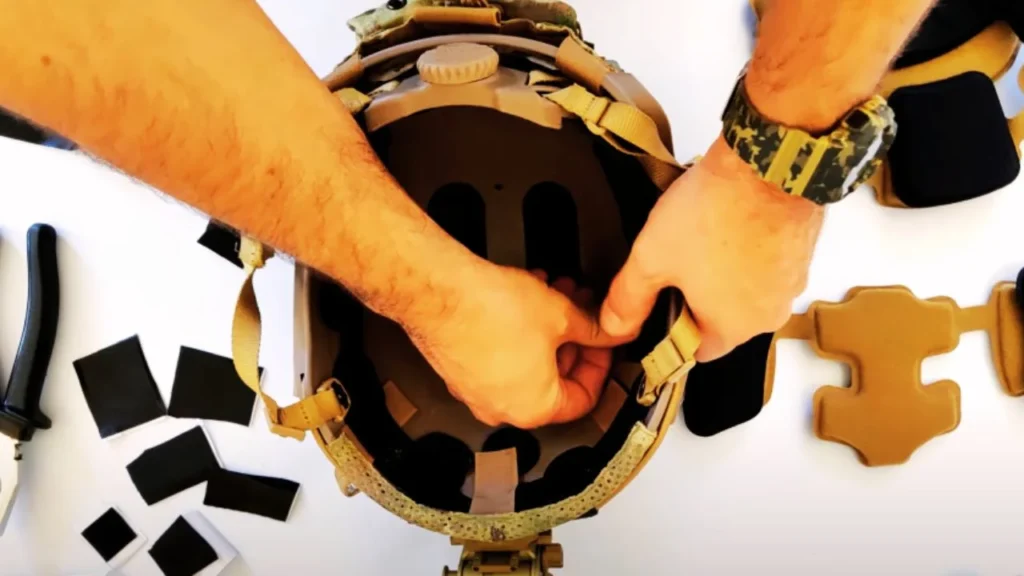
Custom liners can also improve the helmet’s fit, ensuring it stays snug without putting excessive pressure on any part of your head. I recommend taking the time to explore interior options as they can make a big difference in overall comfort and safety.
Safety Enhancements: Customizing for Functionality
Customization isn’t just about style—it’s an opportunity to make your helmet safer. Reflective decals and tapes are affordable yet highly effective, especially for riders who often travel in low-light conditions. I always add reflective strips to the sides and back of my helmet for extra visibility, especially during night rides.
For the visor, consider anti-fog and scratch-resistant coatings. These are especially useful if you ride in various weather conditions. Aftermarket visors often come with these coatings, but you can also purchase sprays or inserts for a DIY solution. Additionally, I recommend a quick-release buckle for easy removal of the helmet in emergencies; many of these buckles are compatible with different helmet models.
Cost Analysis: DIY vs. Professional Customization
Customizing your helmet at home is budget-friendly and allows you to experiment with various techniques. My DIY projects usually cost between $20 and $100, depending on the complexity. Professional customizations, especially detailed airbrush designs, can range from $300 to $700. If you’re going for a simpler look, DIY might be the way to go, but for intricate designs, the expertise of a professional can make a big difference.
Safety Considerations and Tips for Customizing Your Helmet
- Check Local Regulations: Many regions require specific safety markings on helmets, like DOT or ECE stickers, which must remain visible. Verify local laws before customization.
- Use Helmet-Safe Paints: Avoid solvent-based paints that can weaken the helmet’s material. Opt for water-based, UV-resistant paints designed specifically for helmets to maintain structural integrity.
- Avoid Structural Alterations: Do not drill holes or alter the shell, as this can compromise impact resistance. Keep customization surface-level to ensure safety compliance.
- Test Small Areas First: Apply paint or adhesive to a hidden area to check for any adverse reactions that may weaken the material or create unwanted effects.
- Keep Reflective Elements Intact: If your helmet has reflective areas for night visibility, either work around them or replace them with similar reflective decals to maintain safety on the road.
- Quick-Release Buckle Installation: If upgrading to a quick-release buckle, ensure it’s compatible with your helmet model and properly secured to avoid accidental releases.
- Use Anti-Fog Visor Coatings: Anti-fog or scratch-resistant coatings improve visibility in various weather conditions, enhancing overall safety while riding.
- Prioritize Fit and Padding: Custom padding should maintain a snug fit without excessive pressure points, ensuring the helmet stays secure during rides.
- Consult Professionals for Major Modifications: For advanced techniques, such as airbrushing or custom-fit liners, consider hiring a professional to maintain safety standards and quality.
These tips will help you balance creativity with safety, ensuring that your customized helmet protects you effectively while looking great on the road.
Conclusion
Customizing a motorcycle helmet is an enjoyable project that brings together creativity, safety, and functionality. Whether you’re going for a bold, detailed design or a few subtle upgrades, every step adds a bit of your own personality to your ride. With options ranging from easy decals to complex airbrushing, there’s something for every budget and skill level. Remember, your helmet should protect you first, but that doesn’t mean it can’t look good while doing it.
Let your helmet reflect who you are and enjoy the ride!
Learn tips to maintain your helmets for long time like
can you wrap a motorcycle helmet
how do i know if my helmet is dot approved
how is a motorcycle helmet supposed to fit
how to clean inside of motorcycle helmet
how to wash motorcycle helmet pads
how to secure helmet on motorcycle
FAQs
1. Can I customize my helmet at home?
Yes, many customizations, like painting, applying decals, and adding padding, can be done at home. Be sure to use helmet-safe materials and follow safety tips to avoid compromising the helmet’s structure.
2. What kind of paint should I use for my helmet?
Use water-based, UV-resistant paints that are specifically formulated for helmet surfaces. Avoid solvent-based paints, as these can weaken the helmet material over time.
3. Is it legal to customize a motorcycle helmet?
In most places, it’s legal to customize a helmet, but certain modifications (like covering safety labels or altering the shell structure) could make it non-compliant with local regulations. Check your local laws before making changes.
4. Do I need a professional to customize my helmet?
Simple customizations, like decals or padding changes, can be done at home. For advanced work like airbrushing or major modifications, a professional may ensure better results and safety.
5. How much does it cost to customize a helmet?
DIY customizations typically range from $20 to $100, while professional jobs, like airbrushing or custom-fit liners, can cost $300 to $700, depending on the complexity.