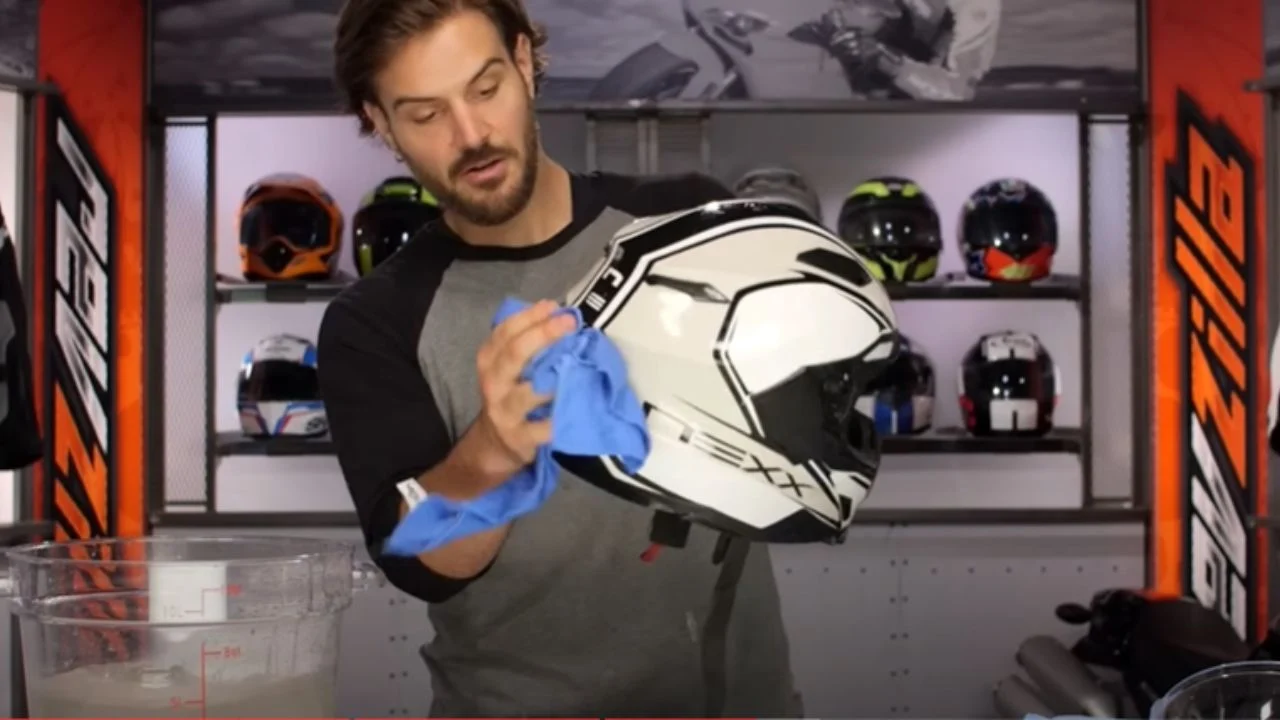
If you’ve ever wondered how to clean inside of motorcycle helmet, you’re in the right place—because keeping your helmet fresh, comfortable, and bacteria-free is essential for every rider.
Your motorcycle helmet is one of the most critical pieces of safety gear, and keeping it clean inside is vital—not just for your comfort but also for hygiene.
Whether you’re a weekend rider or clocking in long distances every day, it’s essential to know how to clean the inside of a motorcycle helmet the right way. A helmet can easily collect sweat, dirt, and bacteria, so regular cleaning is a must to keep it fresh.
In this guide, I’ll walk you through step-by-step instructions on how to clean the interior of your helmet properly.
Trust me, I’ve learned the hard way that leaving it too long can lead to bad smells and even discomfort during rides.
Quick Fix
If your helmet smells bad and you don’t have time for a deep clean, try this: sprinkle baking soda inside, leave it overnight, and vacuum it out the next morning. This absorbs odors quickly and keeps your helmet fresh until you can properly clean it.
Why Cleaning Your Helmet Interior Matters
Cleaning the inside of your helmet isn’t just about making it look good. Here are some reasons why it’s a critical part of helmet care:
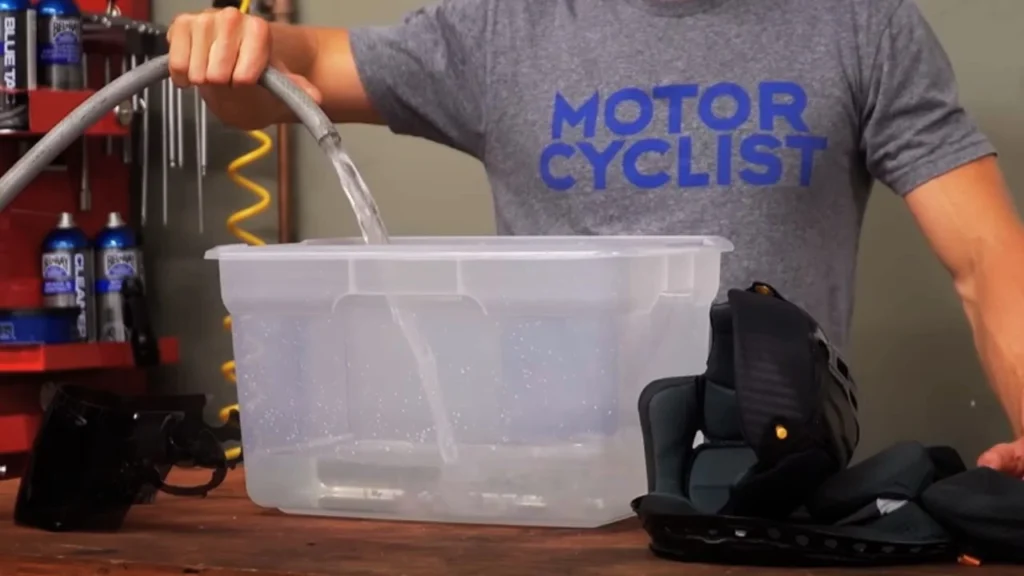
- Bacteria & Odor Control: After just a few rides, sweat and oils from your skin can soak into the liner, creating an ideal breeding ground for bacteria. In fact, studies have shown that bacteria can double every 20 minutes in warm, moist environments like helmet interiors.
- Comfort Maintenance: Helmets are designed for comfort. Dirty, clogged padding can quickly become irritating to your skin.
- Prolonging Helmet Life: Helmets aren’t cheap. Regular interior cleaning can extend your helmet’s life by preventing wear and tear.
How to Clean Inside of Motorcycle Helmet| Step-by-Step Guide
Step 1: Gather the Essential Cleaning Supplies
From my own experience, having the right supplies makes cleaning so much easier. Early on, I tried using regular household cleaners, only to find out that they could actually damage the helmet’s padding and materials. Here’s what you’ll need to clean the inside of your helmet safely:
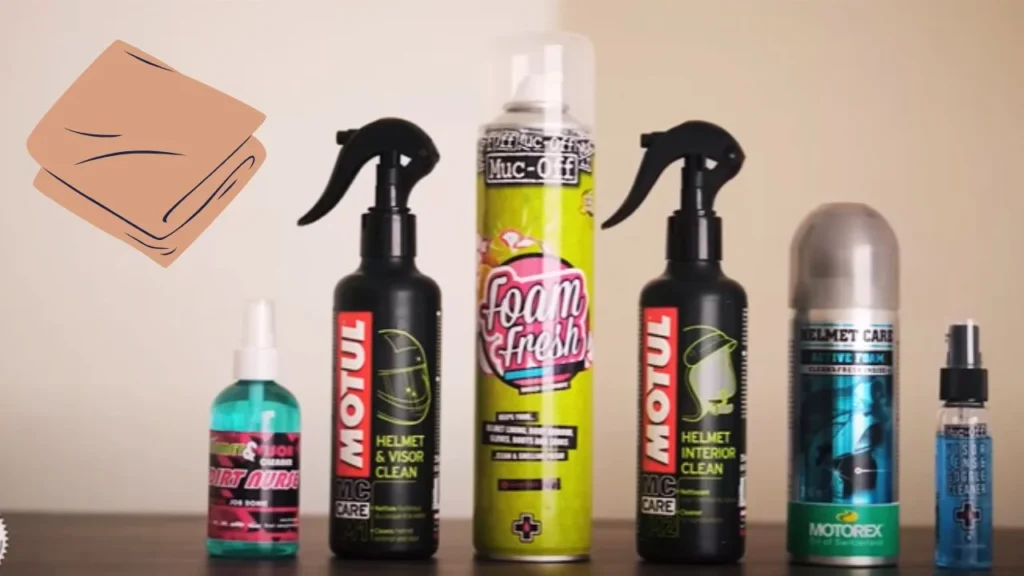
- Microfiber cloths: These are your best friend for cleaning the helmet’s surface and liner. They’re soft and won’t scratch the materials.
- Mild detergent or baby shampoo: I personally prefer baby shampoo because it’s gentle enough for the delicate materials in your helmet, yet it still does a great job of cleaning.
- Soft-bristle toothbrush: For the tough spots like the vents and edges where the liner meets the shell.
- Warm water: Not too hot! Hot water can damage the padding’s adhesive.
- Mesh laundry bag: If your helmet has a removable liner, this is essential for machine washing.
What to Avoid:
- Harsh cleaners: Never use alcohol-based cleaners or ammonia products like glass cleaner. I made the mistake once of using a regular cleaner that contained alcohol, and it dried out the helmet’s interior padding, leaving it brittle. You definitely don’t want that.
Step 2: Disassemble Your Helmet
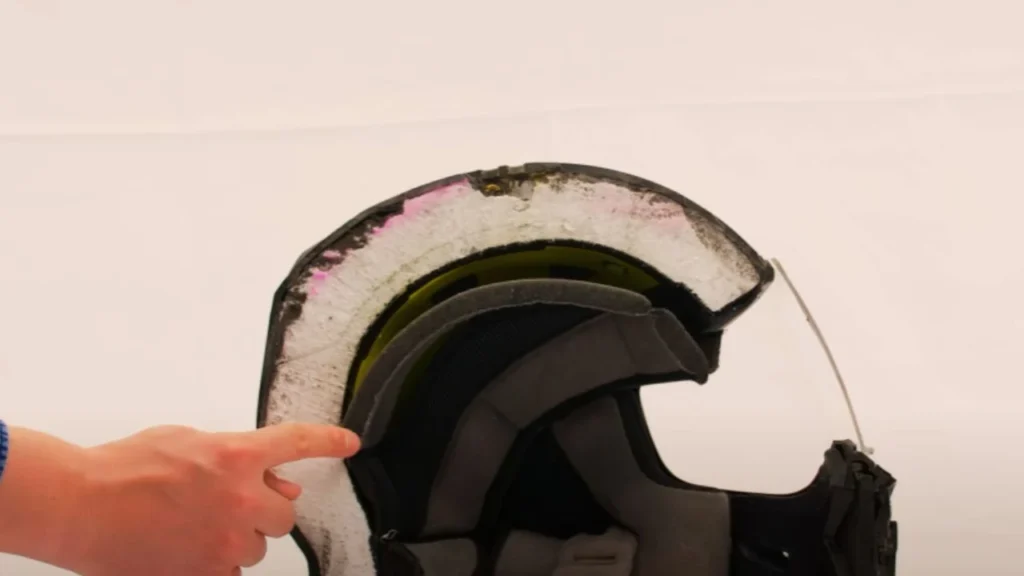
Taking your helmet apart might seem daunting, but it’s actually pretty easy. Most modern helmets have removable liners and cheek pads, which makes the cleaning process a lot simpler.
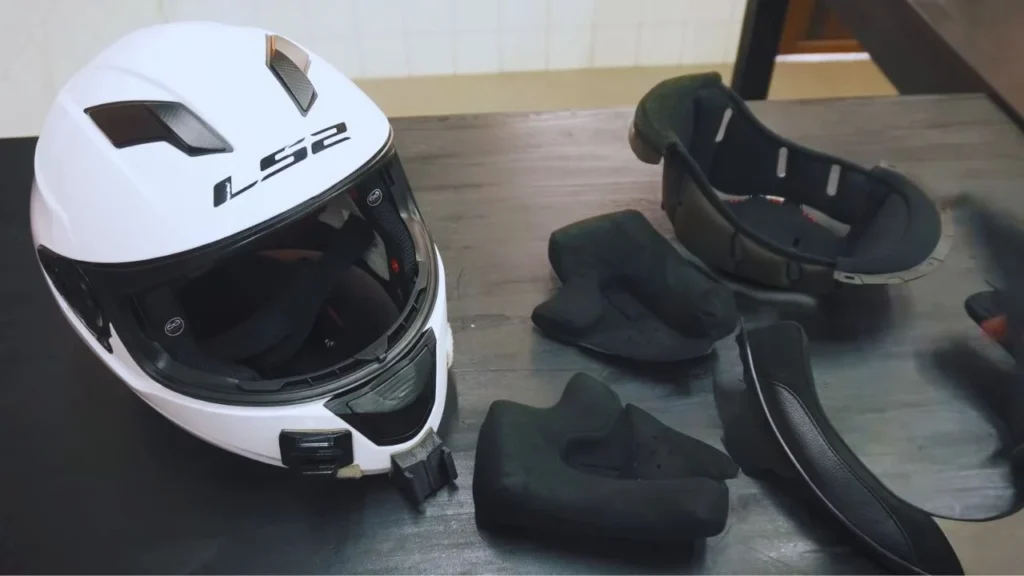
- Remove the liner: The liner is usually attached with snaps or Velcro. Gently pull it out, but make sure to take note of how it fits inside the helmet. I always take a quick photo of the helmet’s interior before disassembling it so I can easily remember how to put everything back in place.
- Detach the cheek pads: These are usually attached the same way as the liner. Be gentle, as the fabric can tear if pulled too hard.
- Remove any electronics: If you’re like me and use a Bluetooth communication system in your helmet, be sure to take it out. You definitely don’t want to damage your electronics while cleaning.
When I first started cleaning my helmet, I didn’t realize just how delicate some of these components can be. Now, I’m much more careful when I disassemble everything.
Step 3: Clean the Liner (Hand-Wash vs. Machine-Wash)
Once you’ve removed the liner and pads, it’s time to clean them. Here’s where you get to choose between hand-washing and machine-washing, depending on the type of liner you have.
Hand-Washing (My personal favorite for delicate liners):
- Fill a small basin with warm water and add a few drops of baby shampoo.
- Gently scrub the liner and pads with your hands or a soft brush. Be sure to focus on areas that soak up the most sweat, like the forehead and cheeks.
- Rinse the liners thoroughly with clean water. Make sure all the soap is out, otherwise it could cause irritation the next time you wear it.
- Press the liner with a clean towel to remove excess water.
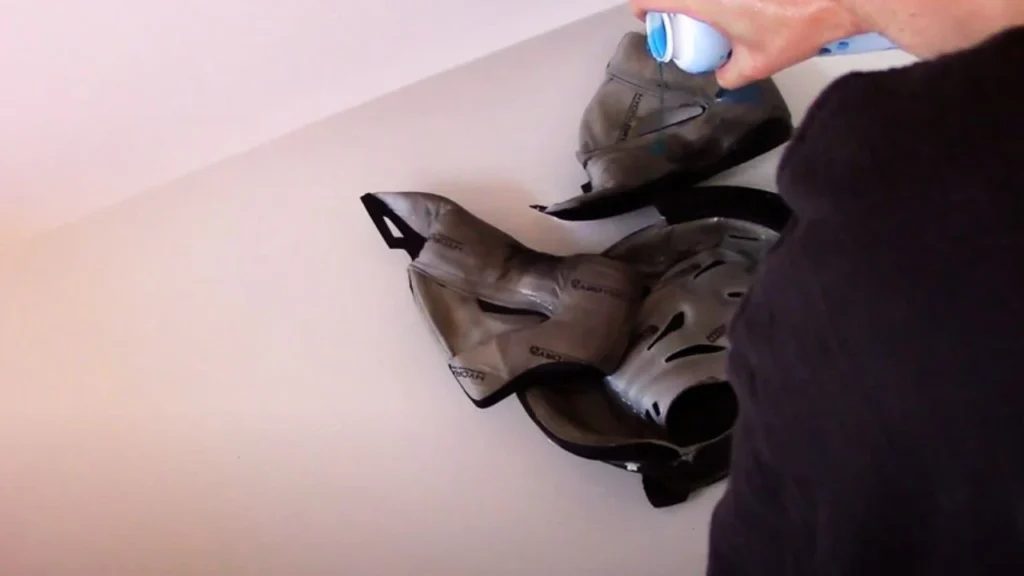
Machine-Washing (Great for durable liners):
- Place the liner and cheek pads in a mesh laundry bag. This protects them from getting tossed around too much in the machine.
- Use a delicate cycle with cold water and a mild detergent.
- Take them out immediately after the wash and allow them to air-dry.
From my experience, machine-washing works fine, but hand-washing gives you more control, especially if your liner is softer and more delicate. It’s worth the extra effort to hand-wash if you want to keep the padding feeling soft.
Pro Tip: I like to add a tablespoon of white vinegar to the washing solution if my helmet smells particularly bad. Vinegar is great for neutralizing odors and it’s completely safe for helmet interiors.
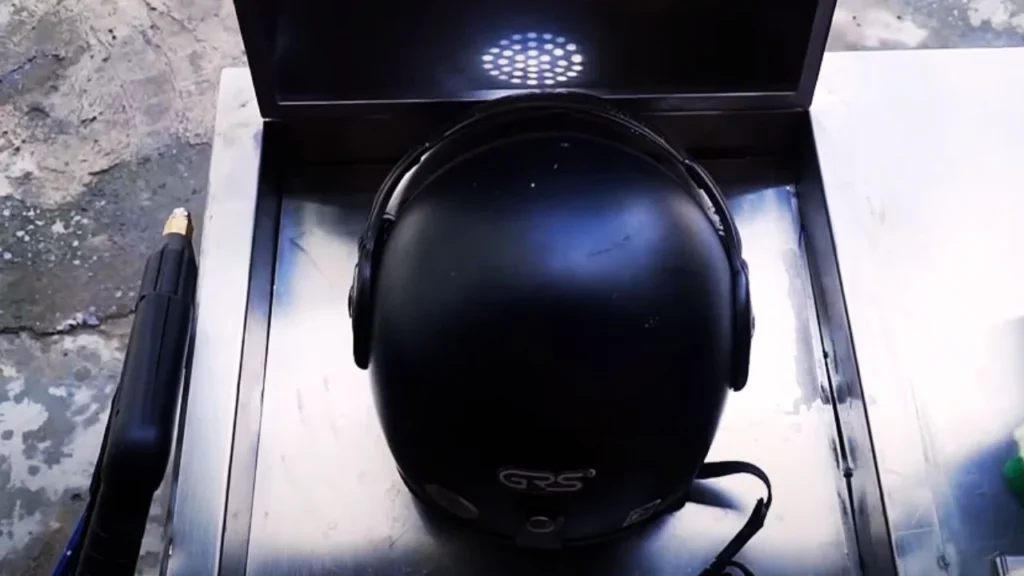
Step 4: Clean the Helmet Interior (Non-Removable Liners)
If your helmet has a non-removable liner, don’t worry! You can still clean it effectively. Here’s how I do it:
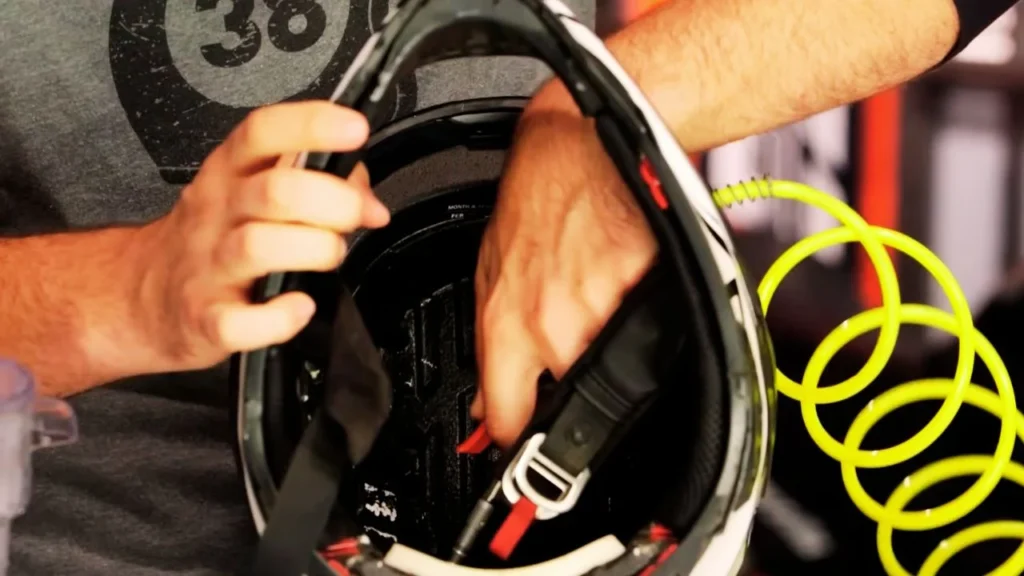
- Soak a microfiber cloth in warm soapy water, then wring it out until it’s damp but not dripping.
- Start scrubbing the inside of the helmet, focusing on the areas that come in direct contact with your skin.
- Rinse the cloth in clean water and wipe down the liner again to remove any soap residue.
- Use a dry microfiber towel to absorb as much moisture as possible.
I’ve used this method with an older helmet that didn’t have a removable liner, and while it takes a bit longer to dry, it works just as well. The key is to be patient with the drying process.
Step 5: Dry the Helmet Interior
I can’t stress enough how important it is to dry your helmet properly. After one of my earlier attempts at cleaning, I left my helmet in the sun to dry faster, only to find that the padding felt stiff afterward. Lesson learned!
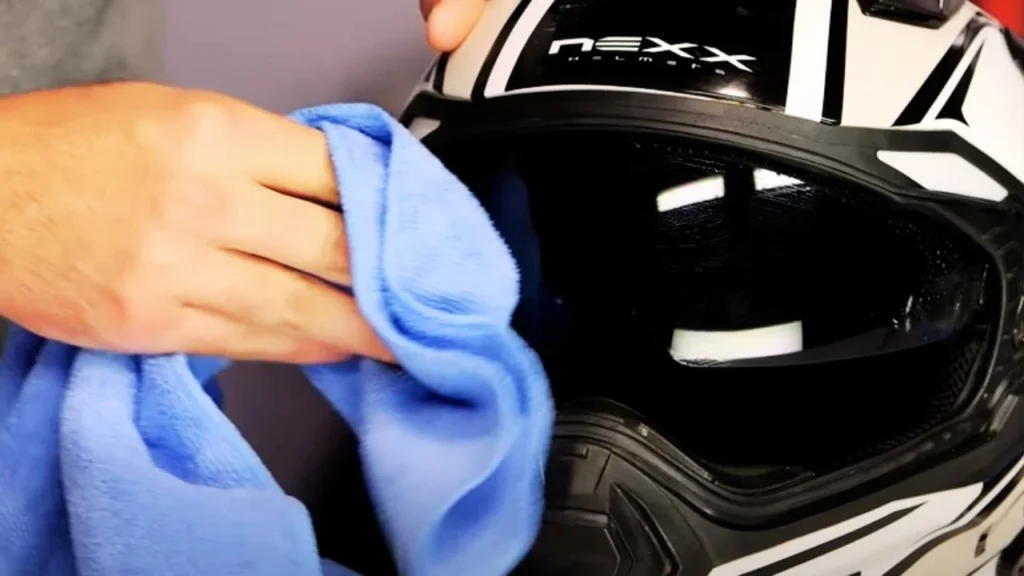
- Air-dry: Place your helmet in a shaded area with good airflow. I usually prop it up in front of a fan to speed up the drying process. Make sure it’s fully dry before using it again—moisture trapped inside can lead to mold or a musty smell.
- No heat: Avoid using a hair dryer or any direct heat sources. The heat can break down the glue holding the padding together.
Pro Tip: Wrap your helmet in a dry towel after washing to absorb extra moisture before letting it air dry. It cuts down drying time by half!
Step 6: Neutralize Odors and Kill Bacteria
Even after cleaning, sometimes the helmet can still hold onto certain odors, especially if you’ve had it for a long time or ride frequently in hot weather. Here’s what I’ve found works best:
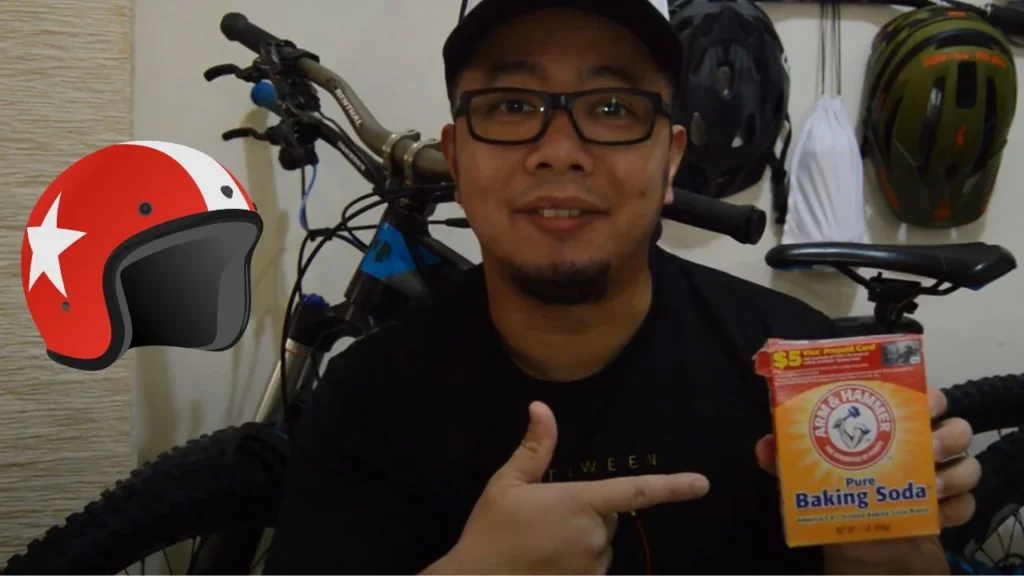
- Baking Soda: Sprinkle a light layer of baking soda inside the helmet and let it sit overnight. Baking soda absorbs odors and leaves the interior smelling fresh.
- Helmet Deodorizer Sprays: I like to use alcohol-free deodorizer sprays made specifically for helmets. These sprays not only keep things smelling nice but also help kill any bacteria that may be lingering.
One time, I tried using a dryer sheet to freshen up my helmet. Bad idea! The chemicals in dryer sheets left my skin feeling irritated after my next ride. I quickly learned that it’s best to stick with products designed for helmets.
Step 7: Clean the Vents and Hard-to-Reach Areas
Helmet vents can easily get clogged with dust, dirt, and even bugs (I’ve had more than one bug get stuck in my vents). Keeping the vents clean ensures proper airflow, which helps reduce sweat buildup.
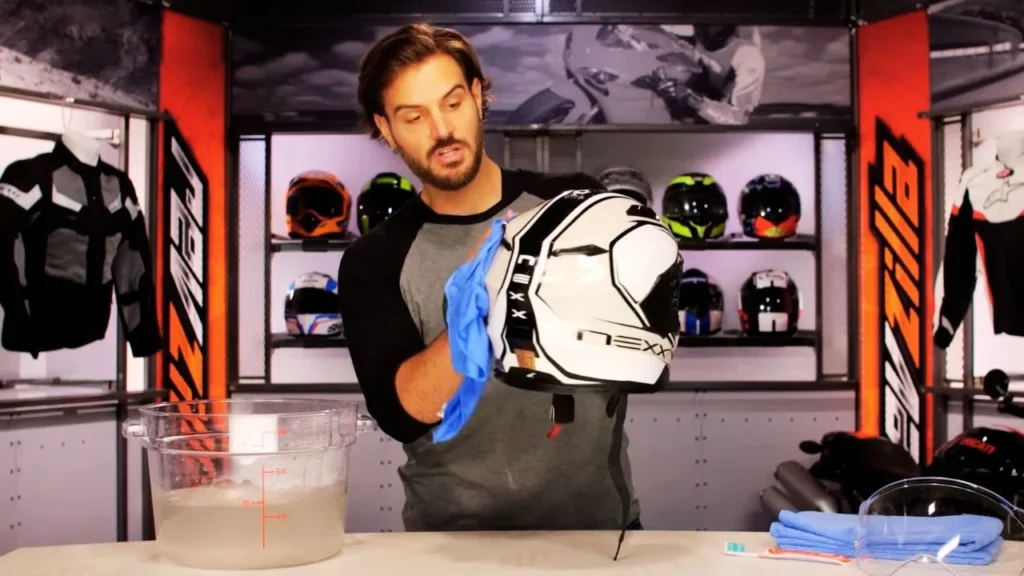
- Compressed Air: Use a can of compressed air to blow out any debris stuck in the vents.
- Cotton Swabs: For small crevices and vent areas, a cotton swab works wonders. Dip it in warm soapy water and gently clean out the grime.
Step 8: Reassemble the Helmet
Once everything is clean and dry, it’s time to put the helmet back together. I always start with the cheek pads, followed by the liner, ensuring everything is snug and secure.

- Inspect for wear: This is a good time to check for any signs of wear and tear. If the padding looks flattened or the liner is torn, it might be time to replace it. A well-maintained helmet will last you around 5 years before needing replacement, according to safety experts.
Step 9: Long-Term Maintenance
To avoid doing a deep clean every time, I’ve developed a quick post-ride routine that helps keep my helmet fresh between cleanings.
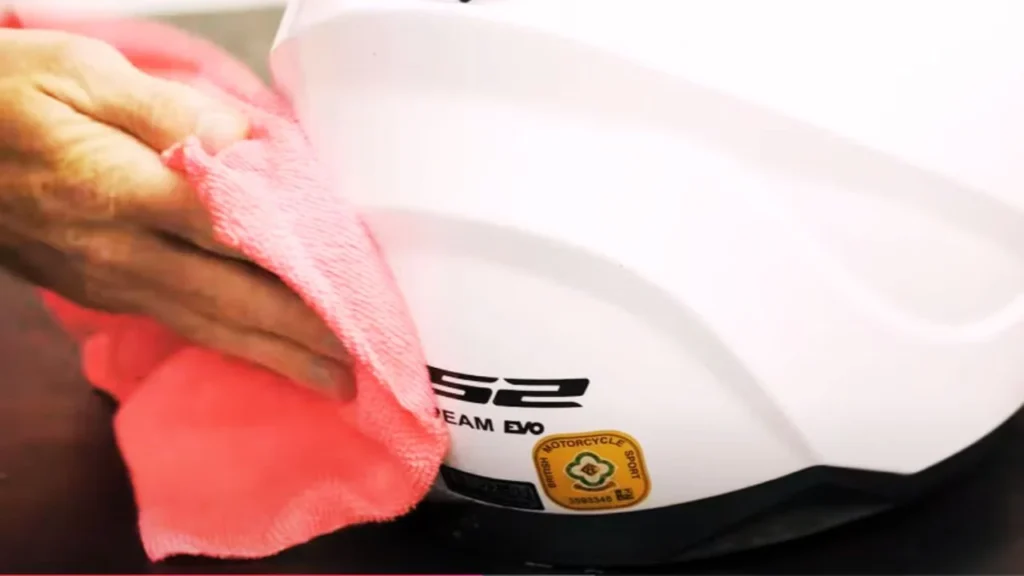
- Wipe down after each ride: I use a damp microfiber cloth to wipe away sweat from the interior after every ride. This keeps the liner from soaking up too much grime.
- Monthly deep clean: For regular riders like me, I recommend giving your helmet a thorough cleaning at least once a month, or more often if you ride daily.
- Storage: Always store your helmet in a cool, dry place. I used to leave mine in the garage, but the humidity can cause moisture buildup, leading to bacteria and bad odors. Now, I store it in a well-ventilated room indoors.
Pro Tips for Keeping Your Helmet Fresh Between Cleanings
Keeping your helmet fresh between deep cleanings can be easy with a few simple habits. After every ride, wipe down the inside of the helmet with a damp microfiber cloth to remove sweat and oils.
You can also use helmet-safe deodorizing sprays to neutralize any odors that may start to develop. Another great tip is to store your helmet in a well-ventilated area and avoid leaving it in hot, humid spaces like garages.
For added freshness, place moisture-absorbing packets or activated charcoal bags inside the helmet when not in use. These small steps go a long way in maintaining a clean, comfortable helmet.
Conclusion
Now that you know how to clean inside of motorcycle helmet, you’ll not only ride more comfortably but also keep your gear in great condition for years to come. Cleaning your helmet every few weeks ensures it stays fresh, bacteria-free, and ready for the next ride. Trust me, once you start taking care of your helmet like this, you’ll never go back to wearing a smelly, uncomfortable lid again.
FAQs
1. How often should I clean the inside of my motorcycle helmet?
You should clean the inside of your helmet every 3-4 weeks, or more frequently if you ride daily, to prevent odor and bacteria buildup.
2. Can I use regular soap to clean my helmet liner?
It’s best to use a mild detergent or baby shampoo, as regular soap may contain harsh chemicals that can degrade the helmet’s materials.
3. How do I dry my helmet after cleaning it?
Air-dry your helmet in a well-ventilated area. Avoid using heat sources like a hairdryer, as they can damage the padding and adhesives.
4. What should I do if my helmet smells bad even after cleaning?
Sprinkle baking soda inside the helmet and let it sit overnight to absorb odors, or use a helmet deodorizer spray designed for interiors.


