Can you wrap a motorcycle helmet? Yes, you can, and it’s an excellent way to customize your gear while adding a protective layer.
I’ve wrapped several helmets myself, and trust me, it’s a practical and fun way to give your helmet a fresh look without making permanent changes.
Whether you want to add a unique design, protect your helmet from wear, or just change things up, vinyl wrapping is a great option. Wrapping is also a cost-effective and reversible alternative to painting, and it offers more flexibility.
In this guide, I’ll take you through the steps to wrap a motorcycle helmet, along with some pro tips I’ve learned from my own experiences, and ensure that safety is never compromised.
Quick Fix
Can you wrap a motorcycle helmet? Yes, and it’s a great way to personalize and protect your gear. Start by cleaning the helmet thoroughly, then apply knifeless tape around the edges for precision. Apply the vinyl from the top down, using a heat gun to help it conform to the helmet’s curves.
Once the vinyl is in place, trim the excess using the knifeless tape, and finish by post-heating the surface to secure the bond. Following these steps will give your helmet a fresh, professional look that’s durable and stylish.
How to Wrap a Motorcycle Helmet: Step-by-Step Guide
Materials You’ll Need:
- High-quality vinyl wrap (choose cast vinyl, as it’s more flexible)
- Heat gun or hair dryer
- Squeegee or credit card
- Knifeless tape (to avoid damaging the helmet when cutting)
- X-Acto knife or precision blade
- Rubbing alcohol and microfiber cloth
Choosing the right materials is crucial for a successful wrap job. From my experience, lower-quality vinyl tends to fade or peel, especially in extreme weather.
Always go for a trusted brand like 3M or Orajet—they provide longer durability, often lasting up to 5-7 years when maintained properly.
Can you wrap a motorcycle helmet? Absolutely! Here’s how you can easily wrap your helmet for a custom, protective finish.
Step 1: Clean the Helmet
I can’t stress this enough: cleaning your helmet thoroughly is key. Any dirt or oils left on the surface will cause the vinyl to lift, creating bubbles or imperfections. Use rubbing alcohol and a microfiber cloth to wipe away all dust and residue. This step ensures the vinyl sticks smoothly.

- Pro Tip: For an even better finish, remove any helmet accessories, like visors or attachments, to give you a clear surface to work with. It’s also a great opportunity to check the padding inside. If your helmet is overdue for a clean, follow these tips on how to clean inside of a motorcycle helmet.
Step 2: Apply Knifeless Tape
One of the best discoveries I made while wrapping helmets was the use of knifeless tape. If you want clean, precise cuts around vents and visors without damaging the helmet, this is a must-have.
It makes trimming the vinyl around complex shapes so much easier. Apply the tape where you want to make cuts before you start applying the vinyl.
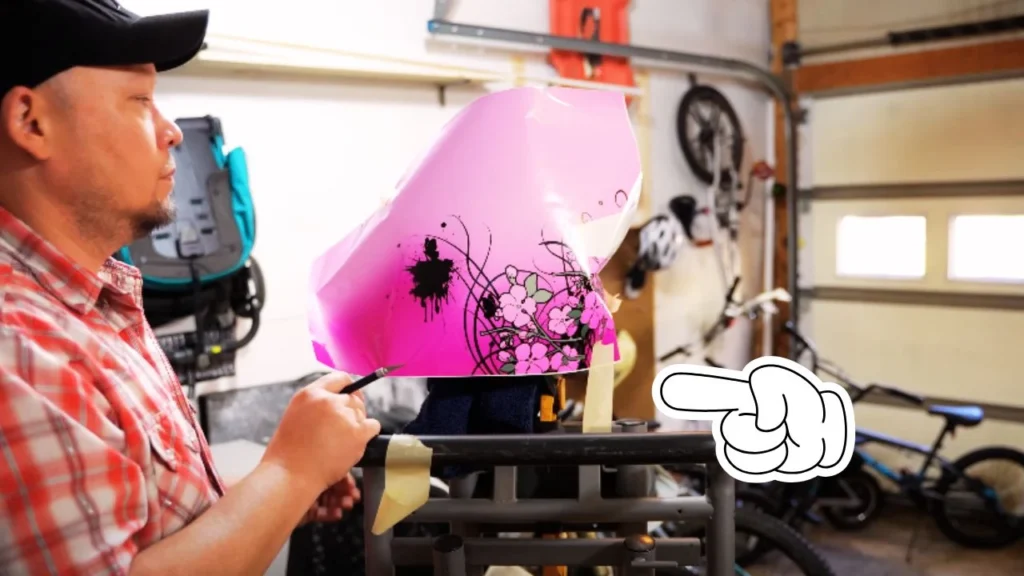
- Pro Tip: Make sure to apply the tape in a smooth, consistent line around tricky areas. The tape’s edge will guide you to cut perfectly without using a blade directly on the helmet.
Step 3: Start Applying the Vinyl
Cut a piece of vinyl large enough to cover the helmet. I always start at the top and work my way down. Trust me, this helps keep everything aligned. The trick is to heat the vinyl gently with a heat gun as you apply it, which makes it more flexible and allows it to stretch over the helmet’s curves.
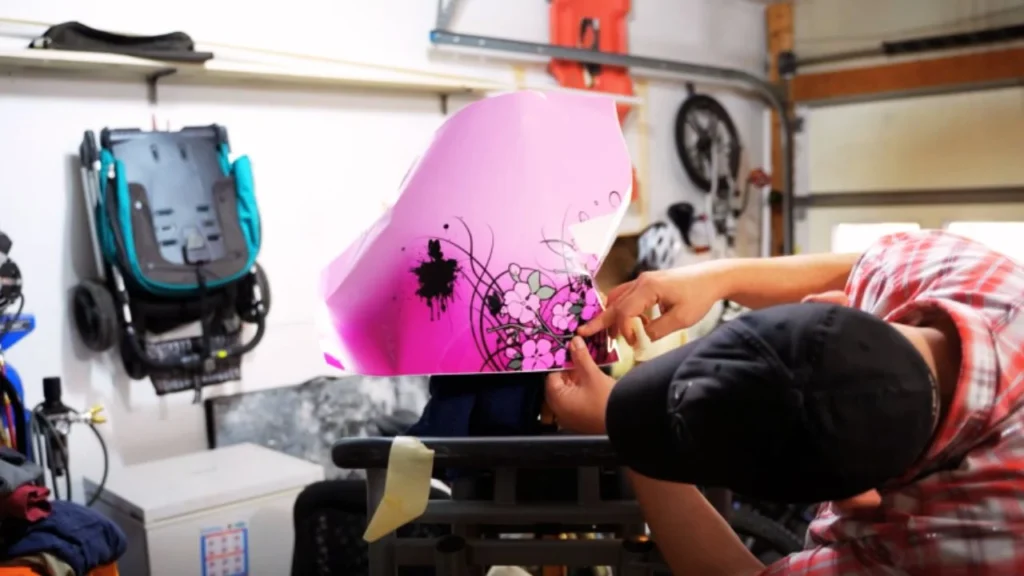
- Pro Tip: Don’t rush. Work in small sections, and use a squeegee to smooth out bubbles as you go. In my first few attempts, I tried to apply large sections of vinyl all at once, and it led to creases.
Step 4: Trim the Vinyl with Precision
Once the vinyl is applied, you’ll need to trim around edges like the visor and vents. This is where the knifeless tape comes in handy. Gently pull the tape to slice through the vinyl without cutting the helmet itself. Afterward, remove the excess vinyl.
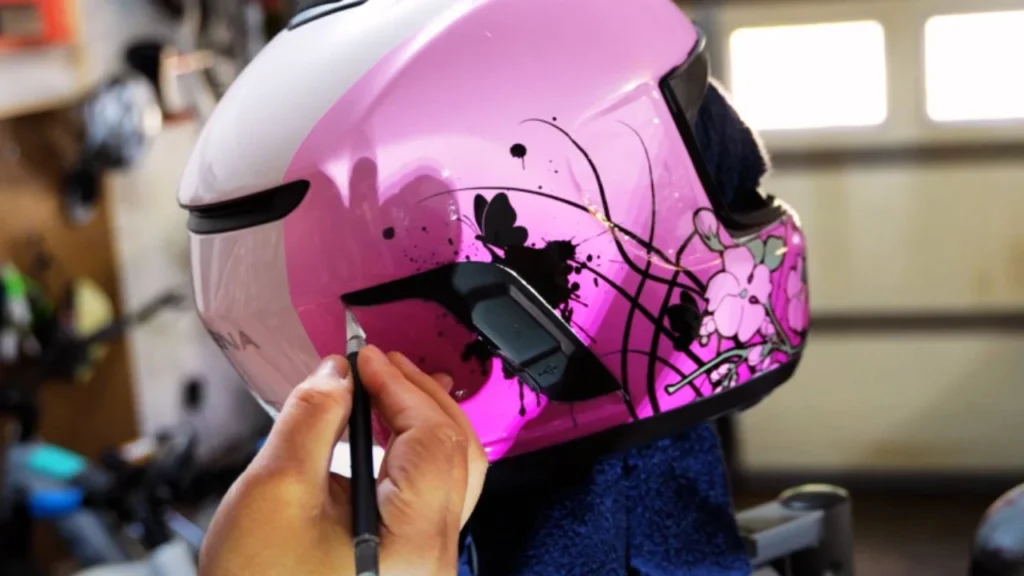
- Pro Tip: Always leave a slight overlap at the edges. I learned this the hard way—if you trim too close to the edge, the vinyl can peel away over time, especially with regular helmet use.
Step 5: Post-Heat for Long-Lasting Results
After the vinyl is fully applied and trimmed, use your heat gun again to gently heat the entire surface. This step is crucial for making sure the vinyl bonds securely to the helmet. It will also smooth out any remaining imperfections.
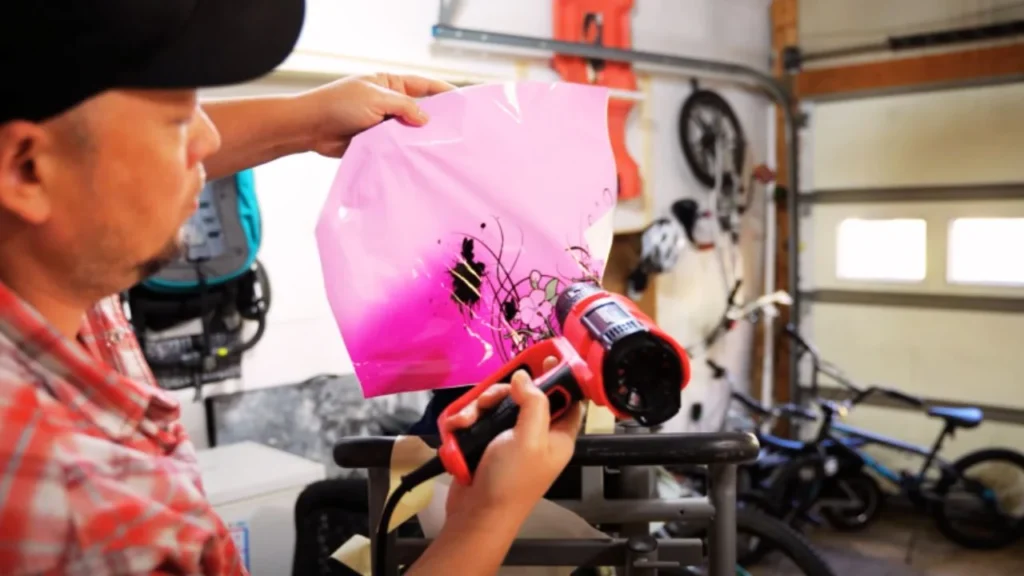
- Pro Tip: Let the helmet sit for a few hours after post-heating. This gives the adhesive time to set properly, making the wrap more durable. I recommend waiting 24 hours before wearing the helmet.
8 Pro Tips for a Flawless Helmet Wrap
From my own experience, these hidden gems have been game-changers for wrapping helmets:
- Use smaller vinyl sections for curves: Helmets have lots of tricky curves, and I’ve found it easier to apply smaller pieces instead of one big sheet.
- Pre-stretch the vinyl: Warming up the vinyl before applying it helps it stretch and conform to the helmet’s curves better.
- Knifeless tape for precision: This tape is a game-changer for clean cuts without damaging the helmet.
- Post-heat for durability: Gently heating the vinyl after application helps the adhesive stick better, making the wrap last up to 7 years.
- Use a Teflon-coated squeegee: This tool smooths the vinyl without scratching, and it’s especially useful for glossy finishes.
- Place seams in less visible areas: I always position seams at the back or bottom of the helmet to keep the design looking clean.
- Test fit the vinyl: I always test fit without peeling off the adhesive backing to make sure it looks right before committing.
- Work in a dust-free environment: Dust can ruin a perfect wrap. A clean workspace is crucial.
Why Do You Wrap a Motorcycle Helmet?
There are many reasons why riders choose to wrap their helmets. Let’s look at some of the key benefits that might convince you to give it a try:
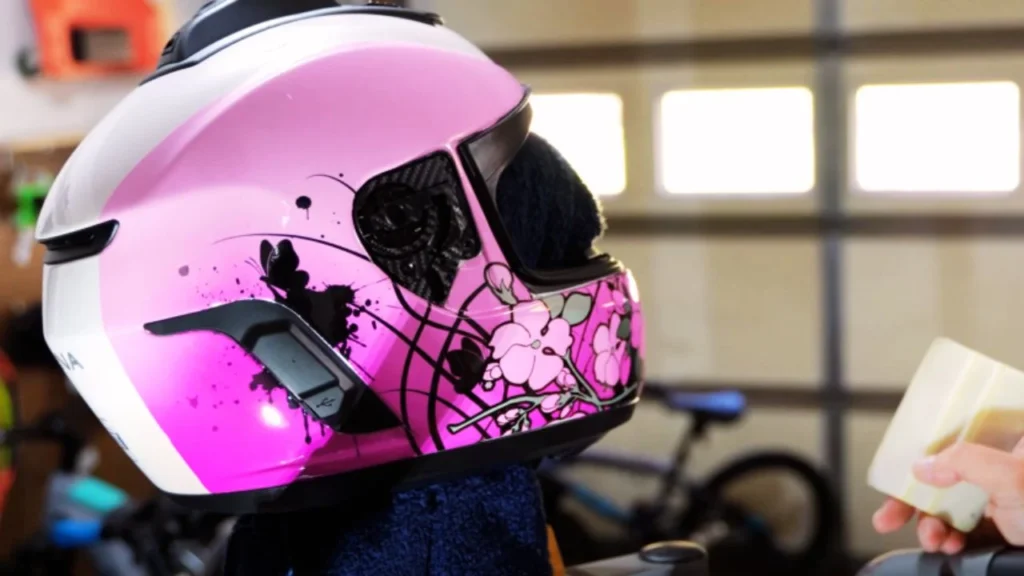
- Customization: Wrapping your helmet allows for endless creativity. You can choose from glossy, matte, carbon fiber, or even metallic finishes, and create personalized designs or add graphics. This is something I love—changing the design whenever I want without committing to a permanent look.
- Protection: A vinyl wraps act as a protective layer that shields your helmet from expiry, debris, and UV rays. From my experience, it even helped maintain the helmet’s original finish, keeping it looking new for much longer. It’s like adding an extra shield without modifying the structure.
- Cost-Effective: Compared to painting, which can cost upwards of $500 to $800, wrapping your helmet is significantly cheaper. You can DIY for around $50 to $100, or get it done professionally for about $200 to $500. Given how quick and affordable it is, vinyl wrapping has been my go-to choice for refreshing the look of my helmets.
- Non-Permanent: One of the biggest advantages is that wraps are temporary. If you want to switch designs, just peel it off, and your helmet is back to its original state. This feature gives riders like me the flexibility to keep experimenting with new looks without any long-term commitment.
Wrapping a Helmet vs. Painting
- Cost: Vinyl wrapping is much cheaper, costing $50-$500 depending on whether you do it yourself or hire a professional. In contrast, custom paint jobs can run up to $800 or more.
- Time: Wrapping takes less time than painting. You can wrap your helmet in a few hours, while paint jobs require multiple coats and time to dry.
- Permanence: Wraps are non-permanent and easy to remove, whereas paint is permanent. If you want flexibility in changing the look of your helmet, wrapping is the way to go.
Safety Considerations When Wrapping a Helmet
While wrapping your helmet offers great customization options, safety should never be compromised. Here are a few essential tips to ensure your helmet remains safe and functional:
- Don’t cover ventilation areas: Your helmet needs proper airflow for comfort and cooling. Blocking the vents can cause overheating, especially on hot rides. This is particularly important for long-distance or summer riding.
- Keep certification stickers visible: Your helmet’s DOT or ECE certification stickers show it meets safety standards. Ensure these labels remain uncovered so your helmet stays compliant with regulations.
- Check for cracks: Before wrapping, inspect your helmet for any cracks or damage. A wrap can hide structural damage, and riding with a compromised helmet is dangerous. If you find any damage, consider learning more about how often you should replace a motorcycle helmet and upgrade to a safer one.
Common Mistakes to Avoid
- Using cheap vinyl: Lower-quality vinyl fades quickly and peels when exposed to heat or sunlight. From my experience, investing in 3M or Orajet vinyl is worth it for its durability.
- Skipping the cleaning step: Any oils or dust on the helmet will interfere with the adhesive, causing the vinyl to lift or form bubbles.
- Applying too much heat: While heat helps the vinyl stretch, too much can cause it to warp or even melt. Always use a low setting on your heat gun and avoid overheating.
Conclusion
In my experience, you can absolutely wrap a motorcycle helmet, and it’s a fun, effective way to personalize your gear. With the right tools, patience, and some practice, you can achieve a professional-looking result. Just remember to prioritize safety, keep your vents and certifications visible, and follow these steps closely for a long-lasting finish.
Once wrapped, it’s important to keep your helmet clean. If you’re interested in more helmet tips, check out our guide on how to use a helmet lock on a motorcycle or find out if can I take a motorcycle helmet on a plane.
FAQ’s
How long does a motorcycle helmet wrap last?
A high-quality vinyl wrap can last 5 to 7 years if properly maintained. Cast vinyl is more durable and resistant to wear than calendared vinyl.
How do I avoid air bubbles during wrapping?
Apply vinyl slowly in sections and use a squeegee to push out bubbles. For stubborn areas, use a heat gun to soften the material.
Can I wrap the helmet myself?
Yes, with the right materials and patience, you can wrap a helmet yourself. However, for complex designs or perfect finishes, you might consider hiring a professional.
Can I use any vinyl wrap?
No, not all vinyl is suitable for helmet wrapping. Use thin, flexible cast vinyl that can stretch easily over the helmet’s curves. Avoid thick calendared vinyl, which is too stiff for this purpose.


