As a motorcycle rider, one of the most important questions you can ask yourself is, how is a motorcycle helmet supposed to fit? It may sound simple, but ensuring your helmet fits properly can be the difference between life and death.
I learned this firsthand when I started riding. At first, I bought a helmet that I thought was fine—it seemed snug enough.
But after a few rides, I noticed it wasn’t as secure as it should be. That experience made me realize how crucial it is to have a perfectly fitted helmet.
In this guide, I’ll walk you through everything I wish I’d known earlier. From how to measure your head to the common mistakes riders make when selecting a helmet, we’ll cover it all to ensure you get a helmet that’s both comfortable and protective.
Quick Fix
To ensure a proper motorcycle helmet fit, measure your head accurately and choose a helmet that feels snug but not tight. Wear it for 10-15 minutes to check for pressure points, and ensure the helmet doesn’t move when you shake your head. The cheek pads should lightly press against your face without discomfort.
Measuring Your Head: The First Step to the Perfect Fit
Before you even think about picking out a cool-looking helmet, the first step is to measure your head correctly. Trust me, this is where many riders, including myself, make mistakes. To get the right fit, grab a soft tape measure and wrap it around the largest part of your head—about an inch above your eyebrows and around the back.
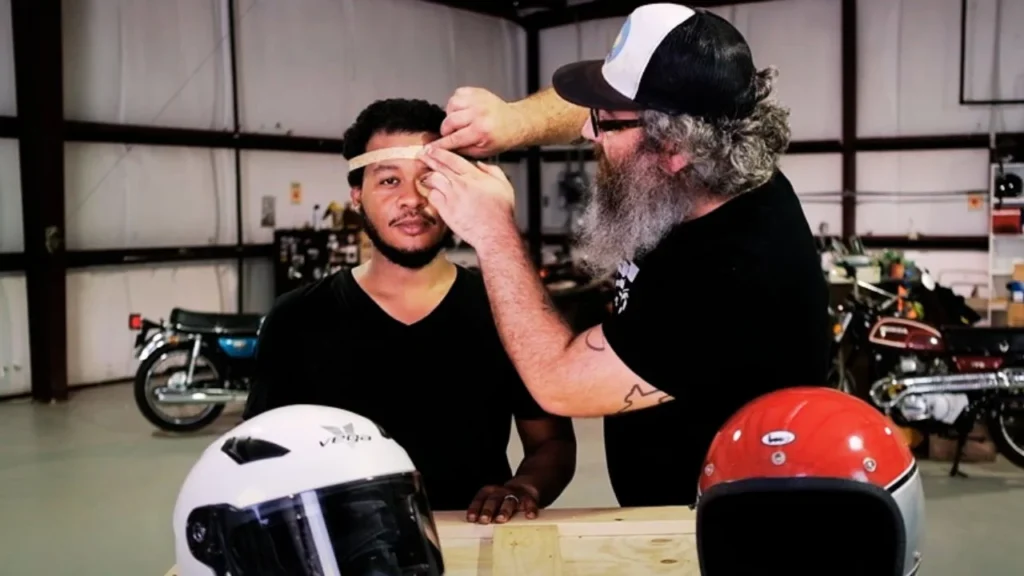
Step-by-Step Head Measurement:
- Use a soft tape measure to get an accurate reading.
- Measure about 1 inch above your eyebrows and wrap it around the widest part of your head.
- Measure more than once to make sure you’re consistent.
This simple measurement gives you a starting point to compare against a manufacturer’s size chart, which can vary from brand to brand.
Pro tip: Don’t round up your measurement. I’ve done this in the past, and it led to a helmet that was too loose!
Understanding Helmet Shapes: The Shape of Your Head Matters
What most riders don’t realize is that head shape plays a huge role in how well a helmet fits. In my early days, I bought a helmet based on size alone.
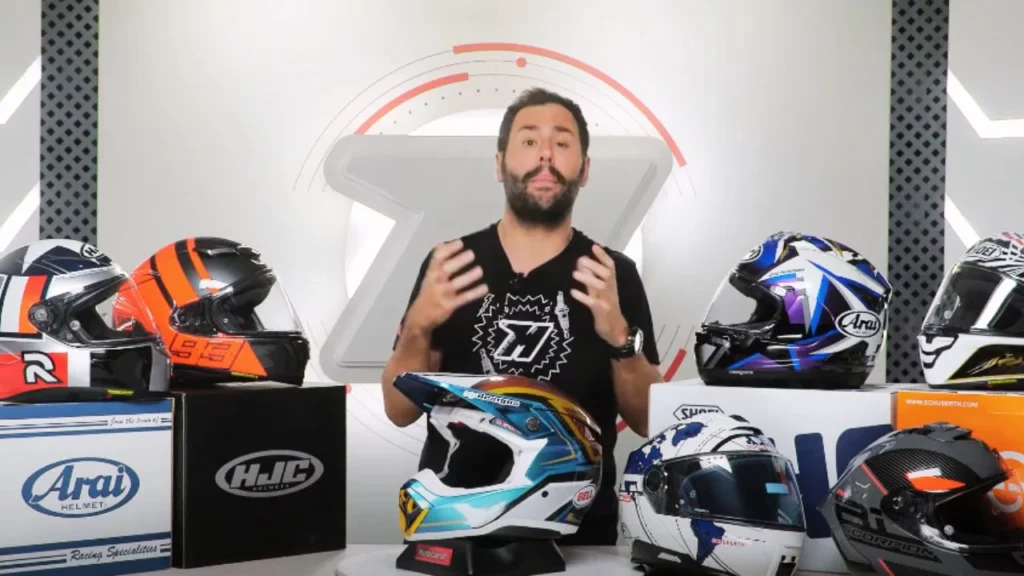
But later, I discovered that different helmets are made for different head shapes: oval, round, and intermediate oval. If you pick the wrong shape, even the right size helmet can feel uncomfortable or leave gaps that compromise your safety.
Helmet Shape Breakdown:
- Oval: Longer front to back, narrower on the sides.
- Round: Same length front to back and side to side.
- Intermediate oval: A mix of oval and round, fits most riders.
If you’re not sure about your head shape, look in the mirror or ask a friend to help. You’ll notice right away if your head is more oval or round. Some brands, like Arai, make helmets for specific shapes, while others like Shoei offer a neutral fit.
How a Motorcycle Helmet Should Fit: The Essentials
Now that you know your size and shape, let’s get into the nitty-gritty of how your helmet should actually fit. The key here is snug but not painful. A well-fitted helmet should be tight enough to stay in place but comfortable enough for long rides.
Here’s a quick checklist for proper helmet fit:
- Cheek pads should press firmly against your cheeks without causing discomfort. When you move the helmet, your cheeks should move with it.
- The chin strap should be tight enough that only two fingers can fit underneath.
- Your forehead should not feel pinched, but there should be no gaps between your forehead and the helmet padding.
- The helmet shouldn’t shift around when you shake your head from side to side or up and down.
Pro tip: When you first get a new helmet, it might feel a little tight, but helmets usually break in after about 15-20 hours of riding. If your helmet feels comfortable after this break-in period, you’re good to go!
How is a Motorcycle Helmet supposed to Fit| 5 Easy Steps
When I was new to riding, I didn’t know there were actual tests to check if a helmet fit properly. But after some research and talking to other riders, I found a few simple fit tests that can make sure your helmet will protect you when it matters most.
Step 1: Wear It for 10-15 Minutes
When trying on a new helmet, it’s crucial to wear it for at least 10-15 minutes to understand how it truly feels on your head. The initial snugness may feel fine for the first few minutes, but after wearing it a bit longer, you’ll start to notice any potential pressure points or discomfort.
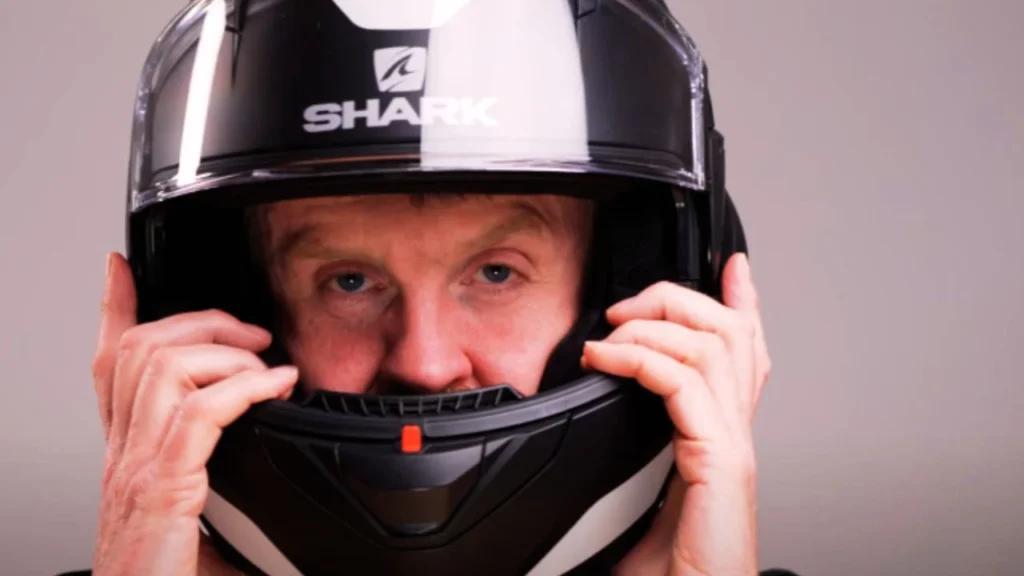
Step 2: Shake Your Head (Up, Down, and Side to Side)
Once the helmet is on, give your head a good shake—both side to side and up and down. If the helmet shifts easily or feels wobbly, it’s too loose and may not provide the protection you need in case of an accident.

Step 3: Fasten the Chin Strap and Perform the Roll Test
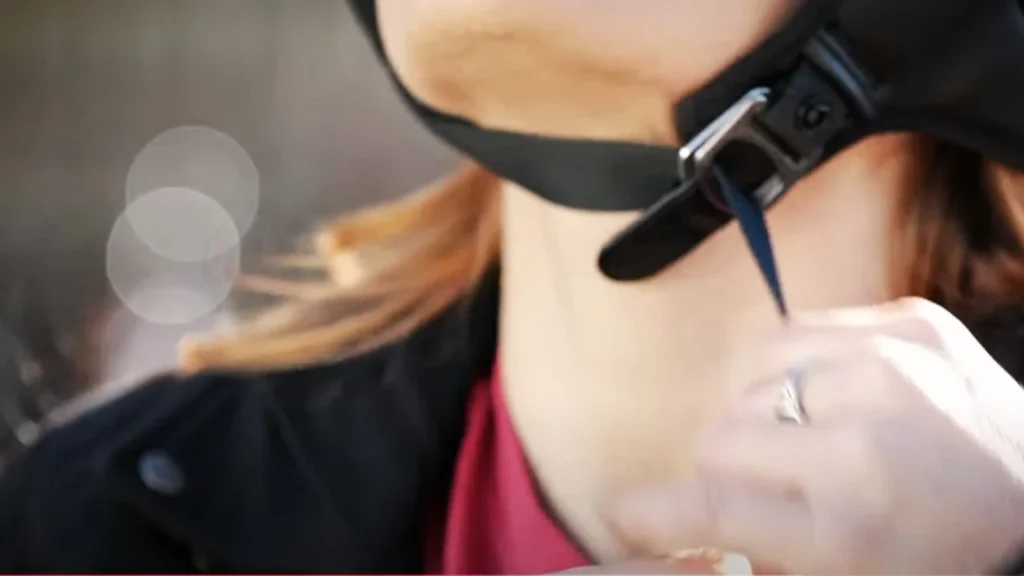
Tighten the chin strap snugly, ensuring that no more than two fingers can fit between the strap and your chin. After securing the strap, try to roll the helmet forward and off your head. If you can roll the helmet off easily, then it’s too large, and you need a smaller size.
Step 4: Check for Pressure Points
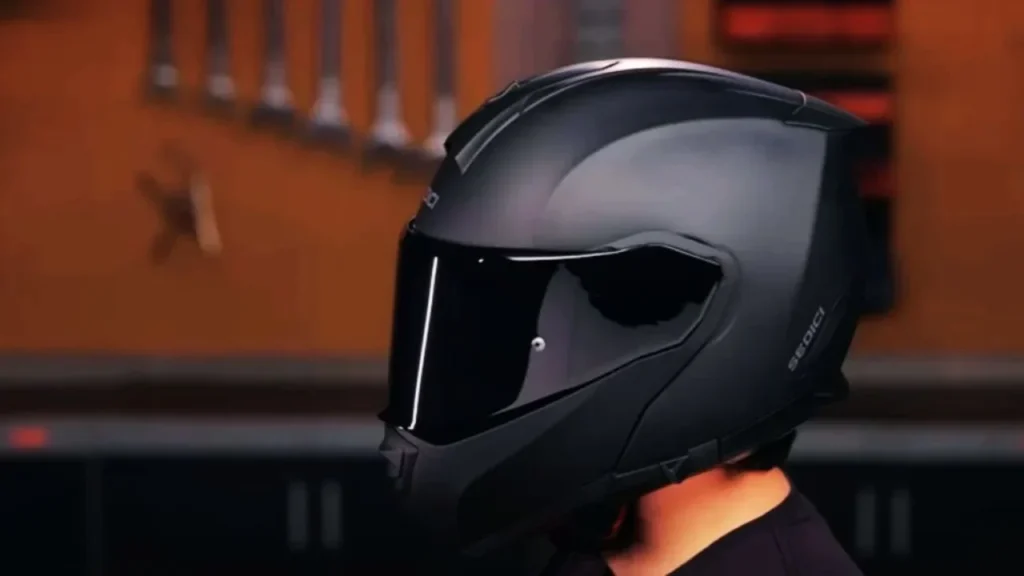
After wearing the helmet for a while, pay attention to any pressure points, especially around the forehead, temples, and cheeks. These are the areas where a poorly fitting helmet often causes discomfort. If you feel sharp pressure or notice red marks when you remove the helmet, it’s a sign that it’s too tight.
Step 5: Test the Cheek Pads
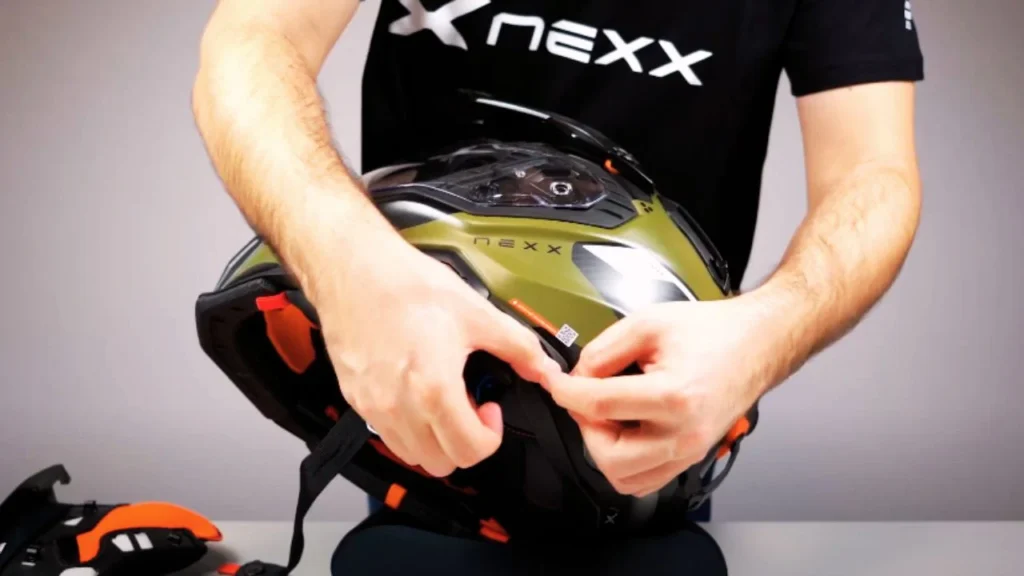
When you move the helmet, your cheeks should move with it. If the helmet fits correctly, it should give you a slight “chipmunk cheek” effect without causing pain. If your cheeks feel pinched or the helmet moves around too easily when you wiggle the chin bar, it’s a sign the fit isn’t right.
Step 6: Test with Glasses (If Applicable)
If you wear glasses or sunglasses while riding, put them on with the helmet to check how well they fit together. The helmet should not press down on your glasses or push them uncomfortably into your face.

These tests might seem simple, but they can make a big difference in ensuring your helmet stays secure during an accident.
Customizing Helmet Fit After Purchase
Even after you’ve bought your helmet, there are ways to fine-tune the fit for extra comfort. I’ve had to do this with a couple of helmets, and it’s an easy process.
How to Adjust Helmet Fit:
- Cheek pads: Most good helmets come with adjustable or replaceable cheek pads. If your helmet feels too loose or tight in this area, swap the pads for different sizes.
- Helmet liners: Add or remove padding liners to get a snugger fit around your head.
Avoid trying to modify the helmet foam or shell directly—doing so could compromise the safety of the helmet.
Common Helmet Sizing Mistakes to Avoid
When I first started riding, I made some classic mistakes that I hope you can avoid. The biggest myth I believed was that helmets would always loosen up significantly over time, so I bought a size too small.
While helmets do break in, this doesn’t mean you should buy a size that’s uncomfortably tight. Another mistake is relying solely on size guides without actually trying the helmet on. No two brands fit the same, so testing different ones is essential.
Common Mistakes to Avoid:
- Trusting size guides without trying the helmet on. Different brands fit differently.
- Buying a size too tight thinking it will break in perfectly. It will loosen a little but shouldn’t cause pain initially.
- Ignoring head shape when choosing a helmet. Size alone isn’t enough!
Balancing Comfort and Safety for Long-Distance Riders
As someone who loves long rides, I’ve learned that comfort is just as important as safety when it comes to helmets. A snug helmet that fits well at first can become unbearable after a few hours if it’s not the right fit. Here’s what I recommend if you’re planning to do long-distance riding:
Comfort Tips for Long Rides:
- Choose a helmet with good ventilation to avoid overheating.
- Look for moisture-wicking liners to keep sweat at bay.
- For long-distance or touring, consider a modular helmet, which offers the flexibility of flipping up the face shield without removing the helmet.
Helmet Longevity: When to Replace Your Helmet
Helmets have a lifespan. After about five years, or after a crash, it’s time to replace your helmet—even if it still looks good on the outside. Over time, the materials inside the helmet degrade, reducing its ability to protect you in an accident.
Signs It’s Time to Replace Your Helmet:
- Worn-out padding: If the padding inside feels flat, it’s time to upgrade.
- Cracked or damaged shell: Even small cracks can make a helmet ineffective.
- If you’ve been in a crash, always replace your helmet immediately.
Final Checklist: Is Your Helmet Fit Ready for the Road?
Before you head out, make sure your helmet checks all the right boxes. Here’s a quick checklist to ensure your helmet is road-ready:
- Snug fit with no uncomfortable pressure points.
- Helmet doesn’t shift when you shake your head.
- Cheek pads firmly press against your face without causing pain.
- You can’t roll the helmet off when the chin strap is fastened.
- No red marks or discomfort after wearing the helmet for 30 minutes.
Conclusion
So, how is a motorcycle helmet supposed to fit? It’s all about balance—snug enough to stay in place, but comfortable enough for long rides.
From measuring your head correctly to avoiding common mistakes, a well-fitted helmet not only enhances your comfort but can save your life. A properly fitted helmet can reduce the risk of head injury by 69%, so don’t take shortcuts when it comes to your safety gear.
FAQ’s
1. How do I know if my motorcycle helmet fits properly?
Your helmet should fit snugly around your head without causing discomfort or pressure points. It shouldn’t move independently when you shake your head, and the chin strap should allow for no more than two fingers between the strap and your chin.
2. What happens if my helmet is too loose?
A loose helmet can shift during a ride, reducing protection and increasing the risk of injury in an accident. It’s crucial to select a helmet that stays secure when you move your head.
3. Can I customize my helmet for a better fit?
Yes! You can replace cheek pads or add padding liners to improve the fit. However, avoid altering the helmet’s structure as it can compromise safety.
4. How long does it take for a helmet to break in?
A helmet typically breaks in after about 15-20 hours of use, as the interior padding compresses to fit your head more comfortably.


