


If you’re wondering how to add audio to CHIPS wireless helmet audio, let me tell you—it’s easier than you think! These devices offer over 10 hours of battery life and work with almost every ski and snowboarding helmet. Plus, with a Bluetooth range of 30 feet, you can enjoy music without being glued to your phone. Understand the differences in Dirt Bike Helmet vs Motorcycle Helmet to suit your riding needs.
Adding audio to your helmet isn’t just fun; it’s super practical. With Bluetooth 5.2 and built-in microphones, you can take calls or listen to navigation hands-free. And don’t worry about the weather—CHIPS are built to withstand temperatures as low as -20°C!
What is CHIPS Wireless Helmet Audio?

The CHIPS Wireless Helmet Audio system is a game-changer for outdoor enthusiasts. It combines high-quality sound with convenience, making your skiing or biking adventures more enjoyable. Let’s explore what makes it special!
Features and Benefits
First off, CHIPS offers Bluetooth connectivity with a range of up to 32 feet (10 meters). This means you can keep your phone tucked away while listening to music or answering calls. Plus, the sound quality is impressive, thanks to its 40mm drivers!
Another standout feature is its durability. CHIPS are sweat-resistant and water-resistant, perfect for tackling snow or rain. You also get up to 13 hours of battery life on a full charge—enough to last a full day of activity.
Types of CHIPS Models
There are three main models to choose from. The CHIPS 2.0 offers basic Bluetooth 4.0 and a built-in mic for calls. If you need something advanced, the CHIPS 3.0 features Bluetooth 5.2 and longer battery life of 15 hours.
For true wireless fans, the CHIPS Ultra is the top choice. It comes with a portable charging case and lasts up to 18 hours with its rechargeable case. All models are compatible with most helmets on the market. Dive into the unique design battle of Alien vs Predator Motorcycle Helmet for sci-fi fans.
Step By Step Guide for How to Add Audio to CHIPS Wireless Helmet

Preparing for Installation
Getting ready to install your CHIPS Wireless Audio is simple and takes only a few minutes. But before jumping in, let’s make sure you’ve got everything you need to make the process smooth and easy.
Check Helmet Compatibility
The first thing to do is check if your helmet is compatible with CHIPS. Most modern helmets with removable ear pads or audio-ready slots will work perfectly. Around 90% of ski and snowboarding helmets on the market today support audio integration.
Unboxing the CHIPS System
When you open the box, double-check the contents. You should find two CHIPS speakers, a USB charging cable, and a quick-start guide. If anything is missing, contact support right away—don’t let missing pieces slow you down.
Charging the Device
Before you install, make sure your CHIPS are fully charged. A full charge takes about 1.5 hours and lasts up to 13 hours of playtime. Just connect the USB cable to a power source and wait for the red light to turn off—it’s that easy!
Installing CHIPS Wireless Audio into Your Helmet
Now that we’ve checked the compatibility and prepared everything, it’s time to install the CHIPS system into your helmet. Don’t worry; it’s super easy and should only take a few minutes!
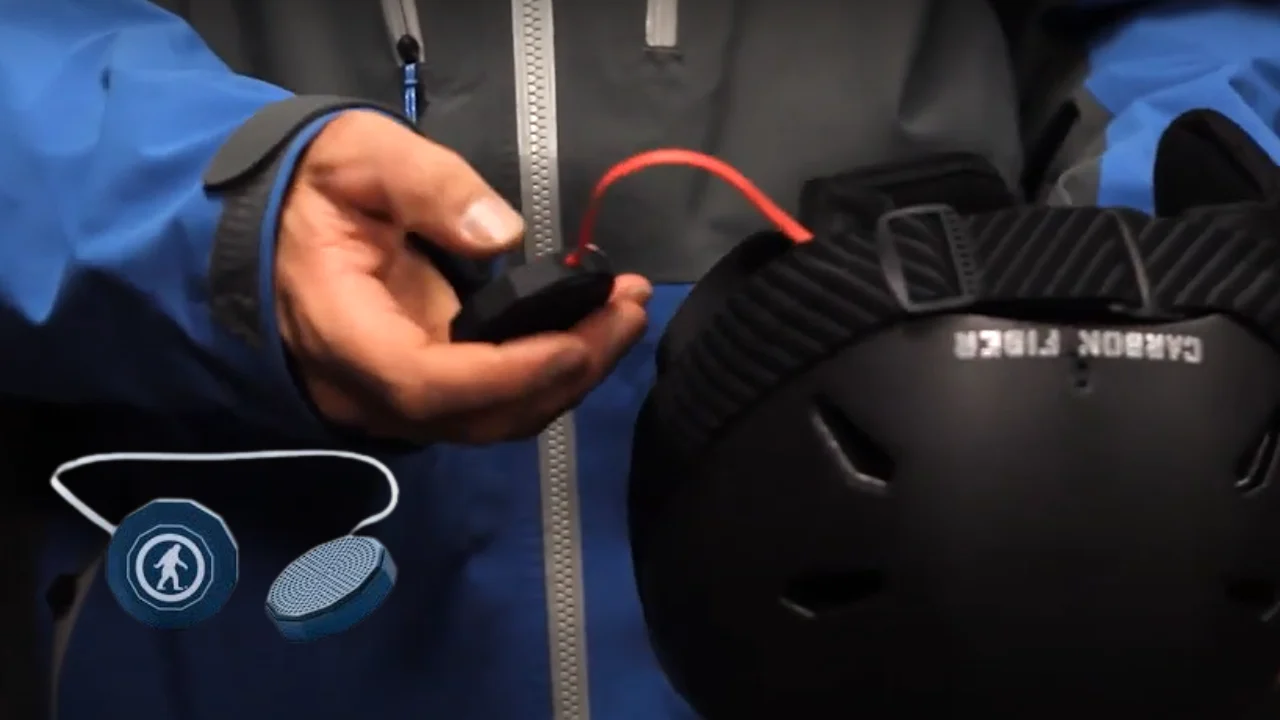
Locating the Helmet’s Ear Pads
The first step is to locate the ear pads in your helmet. Most helmets have designated pockets or slots for audio systems like CHIPS. For instance, if you’re using a snowboarding helmet, these ear pads are usually on both sides, near the bottom.
Inserting the Speakers
Next, you’ll want to insert the CHIPS speakers into these pockets. Align the left and right speakers correctly, ensuring they’re snug in place. They should fit securely without slipping around, so you can enjoy clear sound while you’re out and about.
Checking for Comfort
Once the speakers are in, it’s time to double-check comfort. Adjust the speakers so they align directly with your ears. This small step ensures you’ll get the best sound quality while keeping the helmet comfortable during your ride. Learn how to choose between a Motorcycle Helmet vs Snowmobile Helmet for your rides.
Operating CHIPS Audio

Once your CHIPS are paired with your device, it’s time to dive into how to control them. The controls are pretty simple and intuitive, making it easy to manage music, calls, and volume without having to fumble with your phone. Let’s go through it!
Music Playback Controls
When you’re out there on the slopes or on a long ride, controlling your music is key. With CHIPS, you can play or pause by simply pressing the right ear button once. If you want to skip a track, just double-tap that button. These easy-to-use controls make it super convenient while you’re focused on your activity.
Call Management
Getting a call while you’re busy is never a hassle with CHIPS. If a call comes in, just press the right ear button once to answer. Want to end it? One tap again. If you need to reject a call, press and hold the button for two seconds. No need to pull out your phone, giving you the freedom to stay in the moment.
Voice Assistant Compatibility
Need to ask your voice assistant something while you’re moving? No problem! CHIPS are compatible with Siri and Google Assistant. Just press and hold the right ear button for a couple of seconds, and you’ll be connected to your assistant without breaking stride. It’s that easy to stay connected and get information on the go.
Operating CHIPS Audio
Now that your CHIPS system is all set up and connected, let’s dive into how to operate it smoothly. With just a few easy controls, you’ll be able to enjoy your music and manage calls without any hassle. Here’s how you can do it!
Music Playback Controls
When you’re ready to listen to some tunes, controlling playback is simple. To play or pause music, just press the right ear button once—easy! If you want to skip a track, double-press the same button, and to go back to the previous song, press it three times.
Adjusting the Volume
Changing the volume is super straightforward too. Double-press the left ear button to turn the volume up, and press it once to lower the volume. With a clear, high-quality sound, you won’t have to worry about constantly adjusting—just find your ideal level.
Managing Calls
One of the best features of the CHIPS system is the ability to handle calls while you’re on the go. To answer an incoming call, simply press the right ear button once. If you need to reject a call, press and hold the button for two seconds—it’s as simple as that!
Using Voice Assistants
You can also use your voice assistant with CHIPS. Whether it’s Siri, Google Assistant, or another voice service, press and hold the right ear button for a few seconds. This makes it easy to send a message or get directions without touching your phone.
With all these options, you’ll find it easy to control your music and calls, even when you’re active and moving. Just remember, these simple controls let you focus on your activity while staying connected to your audio. Discover the key contrasts in Car Helmet vs Motorcycle Helmet for better safety insights.
Maintaining and Caring for CHIPS Wireless Audio
Taking care of your CHIPS Wireless Audio system is essential to ensure it works properly for all your adventures. Here’s how I personally maintain my device so it lasts longer and performs at its best.
Cleaning Your CHIPS
I always wipe my CHIPS with a dry cloth after every use to keep them clean. This prevents dirt from building up on the speakers and ensures they stay in top condition. Regular cleaning helps maintain sound clarity, especially after using them in muddy or wet conditions, like skiing or cycling.
Proper Storage
When I’m not using my CHIPS, I store them in a cool, dry place. I avoid leaving them in direct sunlight or in hot places like my car, as extreme temperatures can damage the battery. Keeping the CHIPS in a helmet bag or case ensures they don’t get scratched or knocked around.
Battery Maintenance
I make sure to charge my CHIPS regularly. The device provides up to 13 hours of battery life on a full charge, but I always charge them before I head out, just to be safe. This helps extend the lifespan of the battery and ensures I never run out of power during my adventures.
Checking for Firmware Updates
From time to time, I check for firmware updates on the Outdoor Tech website to make sure I’m getting the latest features and performance improvements. Updating your CHIPS can fix bugs and improve compatibility with devices, making sure your system stays as fresh as the first time you used it. Compare the differences between Fox V Core Helmet vs V1 to find your perfect fit.
Troubleshooting Common Issues
When using the CHIPS wireless helmet audio system, you might encounter a few hiccups. Don’t worry! Here’s how to fix common problems and get back to enjoying your music or calls.
Connection Problems
If you’re having trouble pairing the CHIPS with your device, make sure it’s in Bluetooth pairing mode. To do this, press and hold the right ear button for about 5 seconds. You should see the LED light flashing red and blue, signaling that it’s ready to connect.
Sound Quality Issues
Sometimes the audio quality might not be as crisp as expected. This could be due to the speakers not being aligned correctly with your ears. Double-check that they’re positioned properly for the best sound output. If the problem persists, try reducing interference by moving away from other Bluetooth devices.
Battery or Charging Problems
If you notice that the battery isn’t charging properly, inspect the charging cable and port for any visible damage. CHIPS typically takes about 45 minutes to fully charge, so if it’s taking longer, there may be an issue. You might want to test the cable with another device to rule out a faulty charger.
Safety Considerations
When adding audio to your helmet, it’s essential to keep safety in mind. You don’t want to get too immersed in music or calls and lose track of your surroundings.
Keep the volume at a safe level: Listening at high volumes for extended periods can lead to hearing damage. It’s best to keep the volume below 85 decibels to avoid permanent damage to your ears. This ensures you enjoy your audio while still protecting your hearing.
Stay aware of your surroundings: Even with great music or calls, you need to stay alert. Traffic, other riders, or obstacles can appear suddenly, and being distracted could lead to accidents. Always ensure you can hear everything around you to maintain safety.
Use the audio system in low-risk environments: In environments with fewer distractions, like quiet trails or slopes, it’s safer to use audio. However, avoid using it in places like busy roads or ski resorts where quick reactions are necessary. Reducing distractions helps keep your focus sharp.
Limit audio use during high-concentration activities: Activities like riding in heavy traffic or skiing in crowded areas require full attention. Listening to music or answering calls can interfere with quick decision-making. When focus is needed, it’s best to minimize or turn off the audio.
Take regular breaks: Constant use of audio can tire out your ears and reduce your awareness. Taking breaks allows your ears to rest and helps keep your mind alert. This is especially important for long-duration activities to prevent overexposure to sound.
Final Words
Adding audio to your helmet with CHIPS wireless audio is a game-changer for your outdoor adventures. With up to 13 hours of battery life, you can enjoy music, take calls, or access voice commands without interruptions.
Now that you know how to add audio to chips wireless helmet audio, it’s easier than ever to upgrade your helmet. The simple installation process ensures you’re ready in no time, offering a seamless, hands-free experience whether you’re skiing, cycling, or hitting the trails!


